

A few weeks ago I was at Walmart and needed to buy wrapping paper for a wedding I was going to. I saw this awesome iridescent black and white paper and thought it was just too beautiful to only be wrapping paper. So I also picked up a super cheap 11x14 $5 frame. I had seen some cute button letter projects on Pinterest and I thought I'd give one a try. Here are two of my favorites. (K originally from here - $55, and M originally from here).


When I got back home I first wrapped the gift I was taking to the wedding (I teased this wrapping paper post here). Then I cut a piece of wrapping paper the size of my frame. It was so pretty I almost left it just like that!


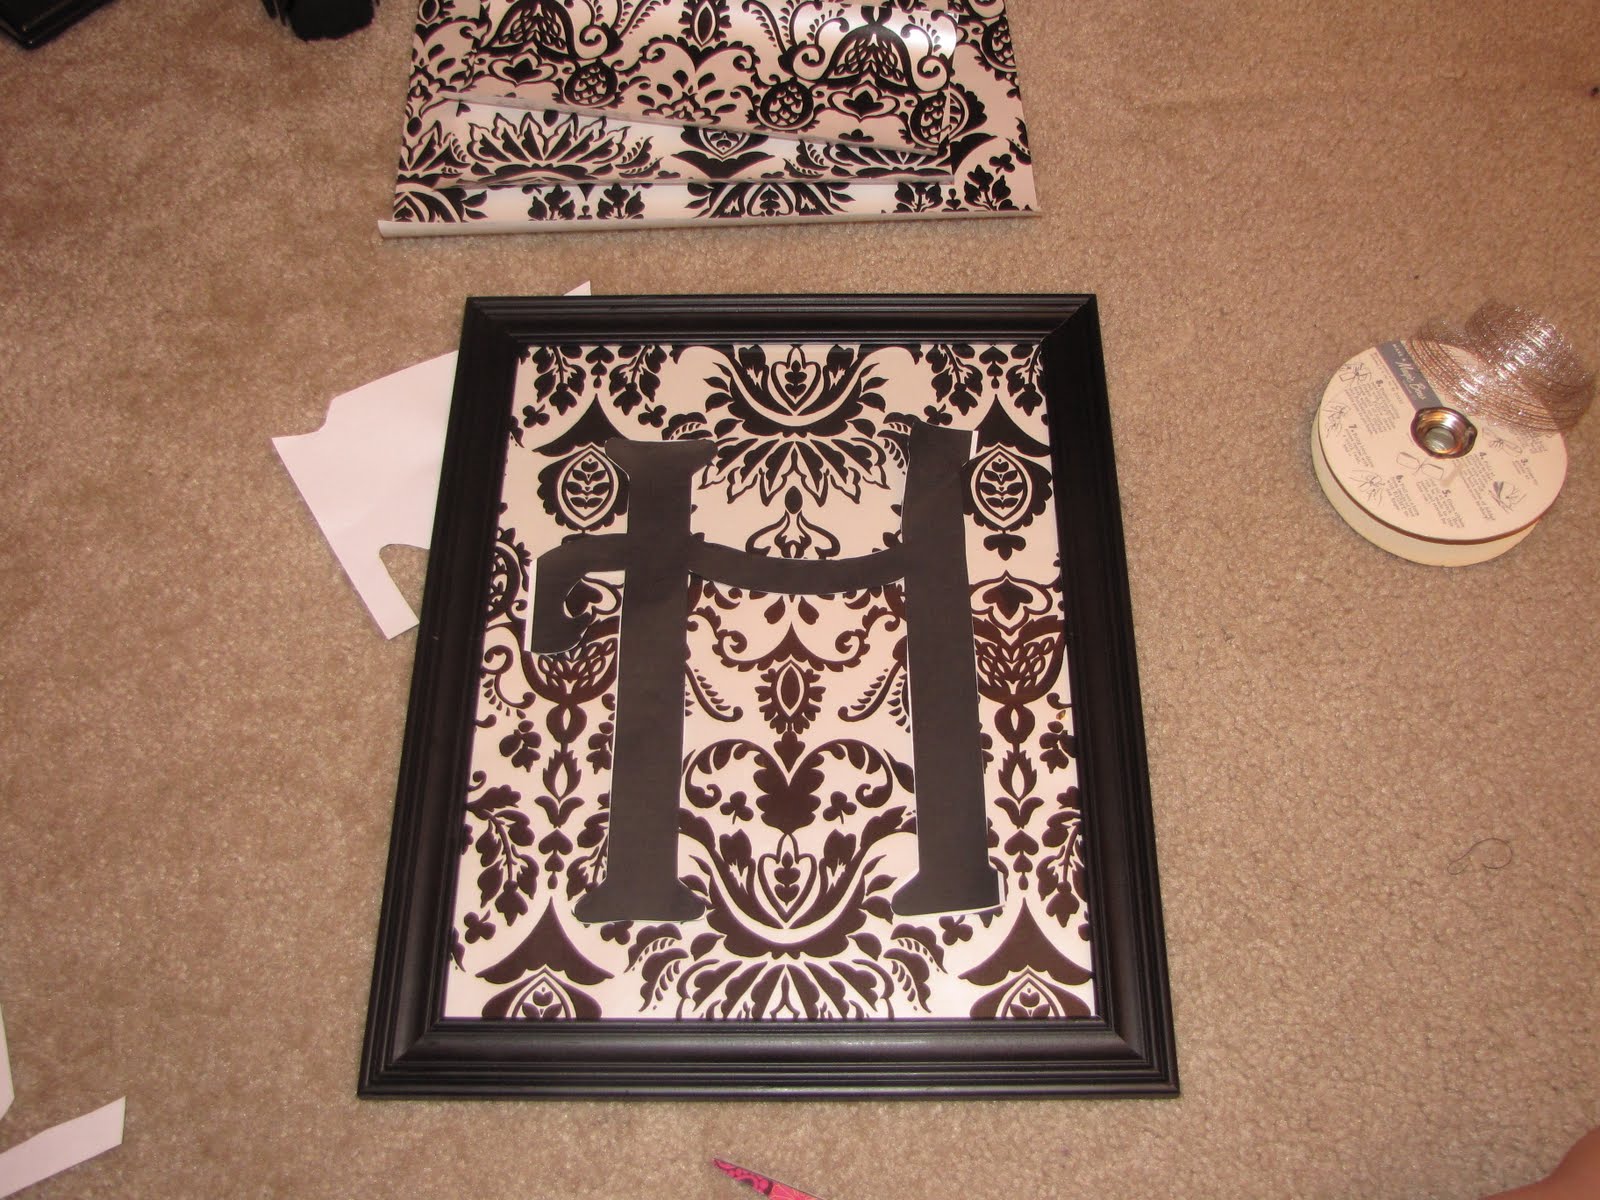
Then I jumped on the computer and found a font that had an "H" that I liked. Blew it up, printed it out, and cut around it. This will be my pattern for the buttons.

I made sure the paper H fit appropriately in my frame and then just traced around it with a pencil.
To apply the buttons I used a small glue gun and put a line of glue around the edge of each button. I made sure to lay all the buttons out first, then pick them up one by one and glue them on. For the most part I followed my H pattern I printed out and then traced, but as you know buttons are round and do not lend themselves to fitting in straight lines very well. I had to make some adjustments but as you can see I think it held the shape pretty well.


Other button projects I'd like to try? Check them out below (both found via Pinterest - wreath originally from here and pillow ($65) originally from here). I also just made some living room art that used buttons. Check that out here.


1 comment:
I had thought about trying this for Eli's room! Thanks for the tips!
Post a Comment