

Wednesday, December 25, 2013
Saturday, December 21, 2013
Paper Houses

Last week my sister and I embarked on what turned out to be one of the most fun crafty projects I have ever done! It was harder than I thought it would be at first, but totally worth the effort. Check out our paper mini-houses, made to look like our real houses!

Have you ever seen anything cuter than this? The yellow house is like mine (see the real thing here) and the brown looks like hers.

Can you imagine a whole village of these little guys?
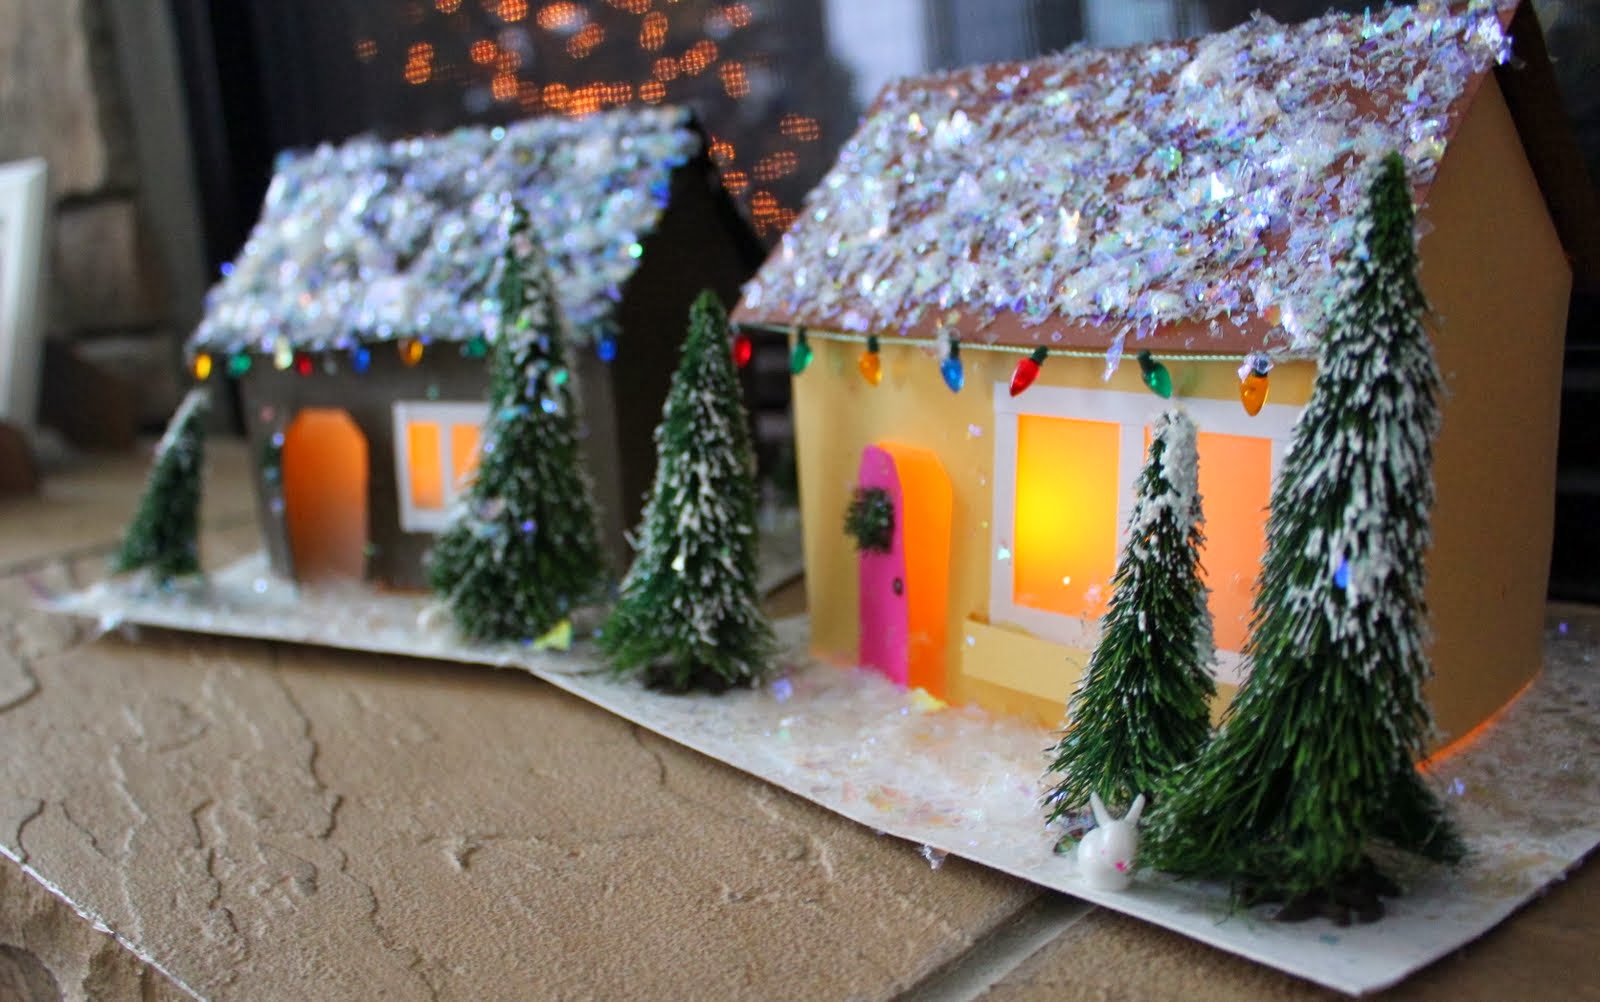
The project took us a few hours one afternoon. We used Martha's templates to get us started but added our own twists like the vellum windows, a window box, and mini wreath and trees. My sister also has a dollhouse that looks like her real house so she had some supplies like the Christmas lights lying around. We used scrapbook cardstock for the house and roof and mostly used hot glue to hold it together. We used some E6000 to add the glitter to the roof and stuck the glitter to the ground quickly after we painted the base so the wet paint held it in place. The last step was hot gluing on the details (notice the little rabbit in the front yard!) and cutting a hole to place a battery operated candle inside the house.

Too freaking cute!
Thursday, December 5, 2013
Thanksliving
Thanksgiving has come and gone... so quickly this year! We ended up going with a plain and simple 2 person thanksgiving dinner this year, so my table-scape reflects that theme: plain and simple! I wrote much more about the whole experience over on the Veg Review, so check it out there if you are interested.


I guess we move onto December festivities now! :-)


I guess we move onto December festivities now! :-)
Wednesday, November 27, 2013
Ruffle Bum
I have always been taken by things that are small. Baby clothes are no exception. I was so excited to hear that friends of ours were having a baby... for the sake of having a baby, but also because I knew it would give me an excuse to make them something. I was even more excited when I found out it was going to be a girl! The only tough thing about it was picking out which pattern to use. I ended up going with an "It's so easy it's Simplicity" pattern (A1826).

If you need to make a Christmas gift for a baby, I definitely recommend this one. I had to stop myself from making 5 more and hoarding them away in the closet for my own future offspring.

The process was pretty simple - you need just a little bit of fabric, bias tape, and skinny elastic. There is elastic around each leg and the waist. The ruffles were easy to make - this is where I deviated from the pattern a little. The pattern suggested having a raw top edge on each ruffle and covering it with ribbon. I assume they proposed this because making a tube out of fabric and turning it around is time consuming, but I just made fabric tubes (by cutting long skinny strips of fabric, folding them hot-dog style with right sides together, and sewing along the long edge), turned them right side out, and used those to make my ruffles. That way the top edge was finished. You can see the gathering but I thought it looked better that way than with oddly placed ribbon along the top of each ruffle. Below you can see my stitching lines for each ruffle and how the bias tape was used to make a casing for the thin elastic around the waist.

Such a fun little project! Sorry I do not have a picture of a baby actually wearing the diaper cover... I will work on that!


Tuesday, November 12, 2013


Tuesday, October 29, 2013
Bench Recovery
While on my project kick this weekend adding storage to our laundry room I got around to recovering the bench that lives in the front hallway. I have been meaning to recover it for awhile, especially since I dropped a paint edger on it face-down (oops!) and got a big gray rectangle on the fabric when I was repainting my office. I absolutely love how it turned out. Something about how the white and gray fabric makes the brown wood parts look like dark chocolate looks so chic! The old cream and orange fabric brought out more of a warm chocolate color. You can see what the bench used to look like before and after I recovered it a few years ago here (and below).

Recovering a bench is CRAZY EASY. It took me all of one hour to recover this bench in two different fabrics. I did a white layer first to make sure the old fabric didn't show through my new fabric.
The first step is always removing the bench seat from the legs. This step should be very easy. Just flip the bench over and unscrew the top (should be 1 screw located near each leg).
My next step was to find some white fabric to use as a barrier from the old fabric to the new fabric. I tested it first and knew the old would show through the new. I simply laid the fabric out and eyeballed how much I needed by laying the bench seat on the fabric and cutting about 4 inches extra all around it.

Next, basically wrap the seat like a present. Pull the fabric really tight and staple it in place on the four straight edges first, then fold in the corners and secure with more staples. I repeated the same process with my new patterned fabric. I was careful to look at the printed side first and decided which part of the pattern I wanted to be centered on the bench.

Reattach the top to the legs, and viola! New bench:


Recovering a bench is CRAZY EASY. It took me all of one hour to recover this bench in two different fabrics. I did a white layer first to make sure the old fabric didn't show through my new fabric.
 |
| Here's the bench before... notice the gray paint on the upper right! |
My next step was to find some white fabric to use as a barrier from the old fabric to the new fabric. I tested it first and knew the old would show through the new. I simply laid the fabric out and eyeballed how much I needed by laying the bench seat on the fabric and cutting about 4 inches extra all around it.

Next, basically wrap the seat like a present. Pull the fabric really tight and staple it in place on the four straight edges first, then fold in the corners and secure with more staples. I repeated the same process with my new patterned fabric. I was careful to look at the printed side first and decided which part of the pattern I wanted to be centered on the bench.

Reattach the top to the legs, and viola! New bench:


Sunday, October 27, 2013
Laundry Room Remodel

I found myself with a little free time this weekend and decided to make it count. I have been wanting to add storage to our laundry room for over two years (I even wrote this post about it back in 2011). I had been holding out for an amazing deal on an upper cabinet, and this spring I finally found one at our Restore for about $25. But... it sat in the garage all summer. My husband actually set this project in motion complaining about the current laundry room situation on Friday.
So this weekend we brought in my cabinet and I got painting. I had an inspiration photo to work from out of Better Homes and Gardens magazine, so T.J. and I were on the same page. He had some carpentry to do, and I had painting to do! I even went to Menard's and found the shelving we needed myself.
This project was truly on a dime. I found shelving in the bargain bin because the ends were broken (but we didn't need the whole length anyway!) for $1.69. We also reused whatever we could.
The grant total was only $36 excluding paint we already had. Now that is a big bang for our buck! See the bottom of this post for a picture of what we were (shamefully) working with before.
Here is my Restore cabinet. It was already cream so it only took a couple coats of white applied evenly with a small foam roller to fix it up.

 |
| My broken bargain board that saved us at least $15! |
We simply set the cabinet on the existing shelf after I slapped a fresh coat of white on it (it was highlighter orange before!). The bracket makes the whole operation sturdy.

Next, T.J. added the upper shelves. He made two "braces" out of primed 1x2s for each one and attached them to the wall (into the studs) and the side of the cabinet.

Finally, I reattached the cabinet doors, touched up the ends of the brackets with white paint, and T.J. added extra 1x2 to the fronts of each upper shelf to make a finished edge.

 |
| My inspiration photo that has been pinned up for a year in the laundry room! |


I wouldn't call this room completely finished... I'm still thinking about replacing the awful florescent light with something prettier, and maybe even stenciling the wall behind the shelves like my inspiration photo. But heck, it is much better than it was before! Our new view when coming in from the garage:

Wednesday, October 2, 2013
Feeling Fall
Anyway, I haven't done anything too new in terms of decorating for fall, but I hauled out all the good stuff from last year. Since I haven't had time the last month or so to do much DIYing, I thought I'd put together a collection of fall deco I'm coveting and thinking about accomplishing this weekend. Plus a couple of my own projects from the last few years.
Pumpkin ideas (from here):


Apparently I am attracted to white pumpkins.
My monogram pumpkin. How-to here.

Fall Wreaths
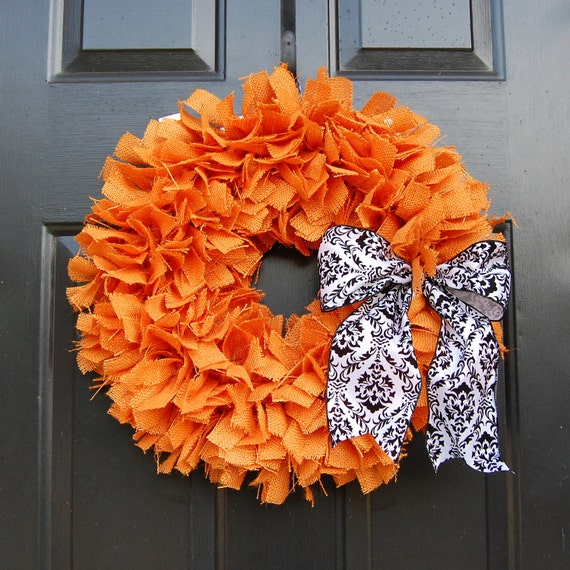
This one is perfect, not sure it would stand out quite the same way on my pink door though! From Etsy.

Source unknown but possibly from here, lots of dark doors and I love how the white monogram pops!
Witch hat cookies - these were delicious! Read about them here.

Tuesday, September 10, 2013
New Stove!
Today is a monumental day. This year for my birthday I asked my family to pitch in to a "stove fund" because I knew it would be much easier to convince my husband to buy a stove if the price tag was a little lower. It worked like a charm and now I have...
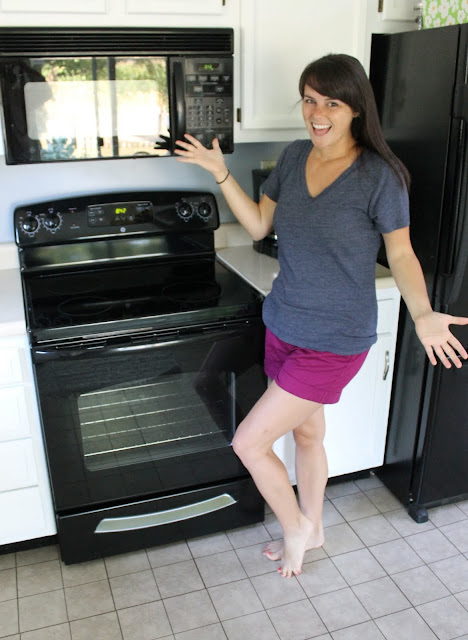

Such an upgrade!


It looks great with the fridge too.


A new stove! Can you tell I am happy?? It is like walking into a whole new kitchen. Check out the before and after.

Such an upgrade!

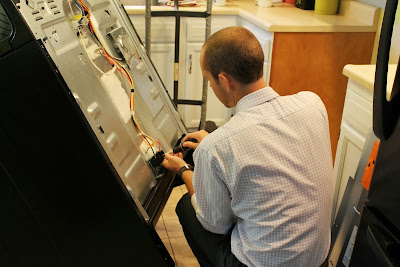
T.J. working on installing the cord.
We could roast an extra large turkey in here... but of course we never will!


It looks great with the fridge too.

Check out previous kitchen evolution posts here and here. It has come a long way in just over two years!
A really big thanks to my family that helped make this happen, I will bring you cookies baked in my new oven soon!
Subscribe to:
Posts (Atom)