Sunday, July 31, 2011

Yellow Spray Paint: Puts a little pep in your step

Oh the wonders of spray paint. I can not believe I have lived so long without it. Spray paint can do so many amazing things. Just to name a few, transforming a gold mirror into a swanky guest bathroom mirror, pink-ifying a chandelier, and updating old drawer pulls. Below is a showcase of fun I have been having lately with yellow spray paint. My living room walls are a really light yellow, so using a darker yellow (Rustoleum Warm Yellow) sort of helps it feel even "yellower."
This mailbox started out black. 
My mother assisted with the number and flower painting on the mailbox.
 
This birdcage used to be purple and the magazine rack above had a fake-oak look to it.

Friday, July 29, 2011

"Heavenly" Headboard

Something I have been noticing all over the internet and magazines are DIY headboards. I happen to be lacking a headboard. So why not give it a try right? Right. And it was super easy! I suggest doing it with friends if possible because for part of the project you need about 6 or 7 hands to hold it all in place. My mom, sister, and wonderful husband all helped me out with mine.


For a great tutorial on making a DIY headboard check out this site and this site. I am going to give an abbreviated version. First we measured the area behind the bed where the headboard would go. I looked at a few magazines to see how far it should stick out, how tall it should be, and what design I wanted for the top (the curves). Better Homes and Gardens DIY magazine just featured a really cute curvy one. I picked the three curves because I thought it was complicated enough to be interesting (rather than just a rectangle) but not too complicated.
To pick out the fabric we headed over to Hobby Lobby. I knew I wanted something solid because of all the pattern I have going on in the bedspread and pillows. But I also wanted it to be interesting, no plain solid is exciting enough for me! :-) My sister found this great puckered fabric we thought would be perfect. We also purchased quilt batting by the yard.


Next, my mom and I drove over to Menards and purchased a 4'x8' piece of plywood. We went with the cheap stuff because none of it will be showing and the wood will not be holding anything up. It cost about $10. We drew out our pattern (only 1/2, then flipped it so it would be symmetrical) and traced it on the plywood. Then, T.J. generously cut out our shape with a jigsaw.


Next we wrapped first the batting, then the fabric around the board and stapled it in place with a staple gun. This is the part where 7 hands are necessary. 


As you can see, the back of the headboard is not so pretty. But who cares? No one will see it. If you are the type that does care you can always staple a piece of fabric to the back as well, just don't pull it over the sides this time.


And there you have it, easy peasy headboard. Total cost = $40.  


Tomorrow we are painting the bedroom gray! Final pictures coming soon.

P.S. Does anyone get the meaning behind the name of this post? What does the puckered fabric on the headboard make you think of? I like to think it reminds me of the fabric of Belle's yellow ball gown in Beauty and the Beast... but some people think otherwise. :-)

Wednesday, July 27, 2011

Flower Fun

Here is another fun find from Goodwill. Total for all three dishes: $2 - and the jellybeans were even free... compliments of my niece Ava who just had an expander put in by the orthodontist. :-) I think these make excellent candy dishes and could even be great for floating candles, dips, or pudding! Not to mention I want to say I saw Target was bringing these back this past spring with some colorful plastic versions... or it might have been Macy's, or maybe both!


Tuesday, July 26, 2011

Cheetah Bench


While my mom and sister were down to visit one of the first projects we tackled was this cute gray cheetah topped bench. We found this little guy at Goodwill in West Lafayette for $7.50. It was labeled as a TV stand but my sister had the ingenious idea to use it as a bench. I was looking for a bench that I could recover to put at the end of my bed. This baby works just a well! It even has a drawer (bonus) and is on casters. Everything is better on casters. The vanity we repainted, as seen here, is also on casters.

Here is his original look (after a little sanding):


 Speaking of the sanding process, my sister was a rockstar sander while she was here. After a little of this...


...she was having a good time doing this... (notice the wine glass in one hand and the sander in the other-- safety first!)


Here is an in process paint shot. I used the same gray that is in my guest bathroom, morning fog, which is featured here. It looks pretty different in the bedroom where there is plenty of natural light. 


To make the bench seat I went to Hobby Lobby and purchased 1" foam. To fit the foam to the rectangle shape of the bench I simply cut the foam and pieced it together. I whip stitched it together just in case, but because it was going to be wrapped in fabric I think it would have been fine just in pieces. 


Next I sewed a cover out of the cheetah print fabric (which I have been dying to use!) the same way I'd make a pillow. Just fold it in half and sew the three sides leaving an opening to shove the foam into. Then I just sewed up the opening from the outside. 


Looks like the fabric was made to match the paint!

I'm not quite sure what to put in that nifty drawer yet... maybe extra sheets? Also, I can't wait to paint the walls gray this weekend and post some updates! 

Monday, July 25, 2011

Morning Sunlight & a Picket Fence

First Anniversary Celebration
To mark T.J. and my one year of being married we... bought a house! I was very clear to my lender than we had to be in before the weekend of the 17th because I refused to celebrate in our stinky old temporary apartment, and I got my wish!
So because we were buying a house we decided to just put in some good ol' elbow grease rather than buy each other anything. T.J. put in a fence for me, and I painted the living room/kitchen "for him" (or more for me, can I have two gifts and T.J. have none?).
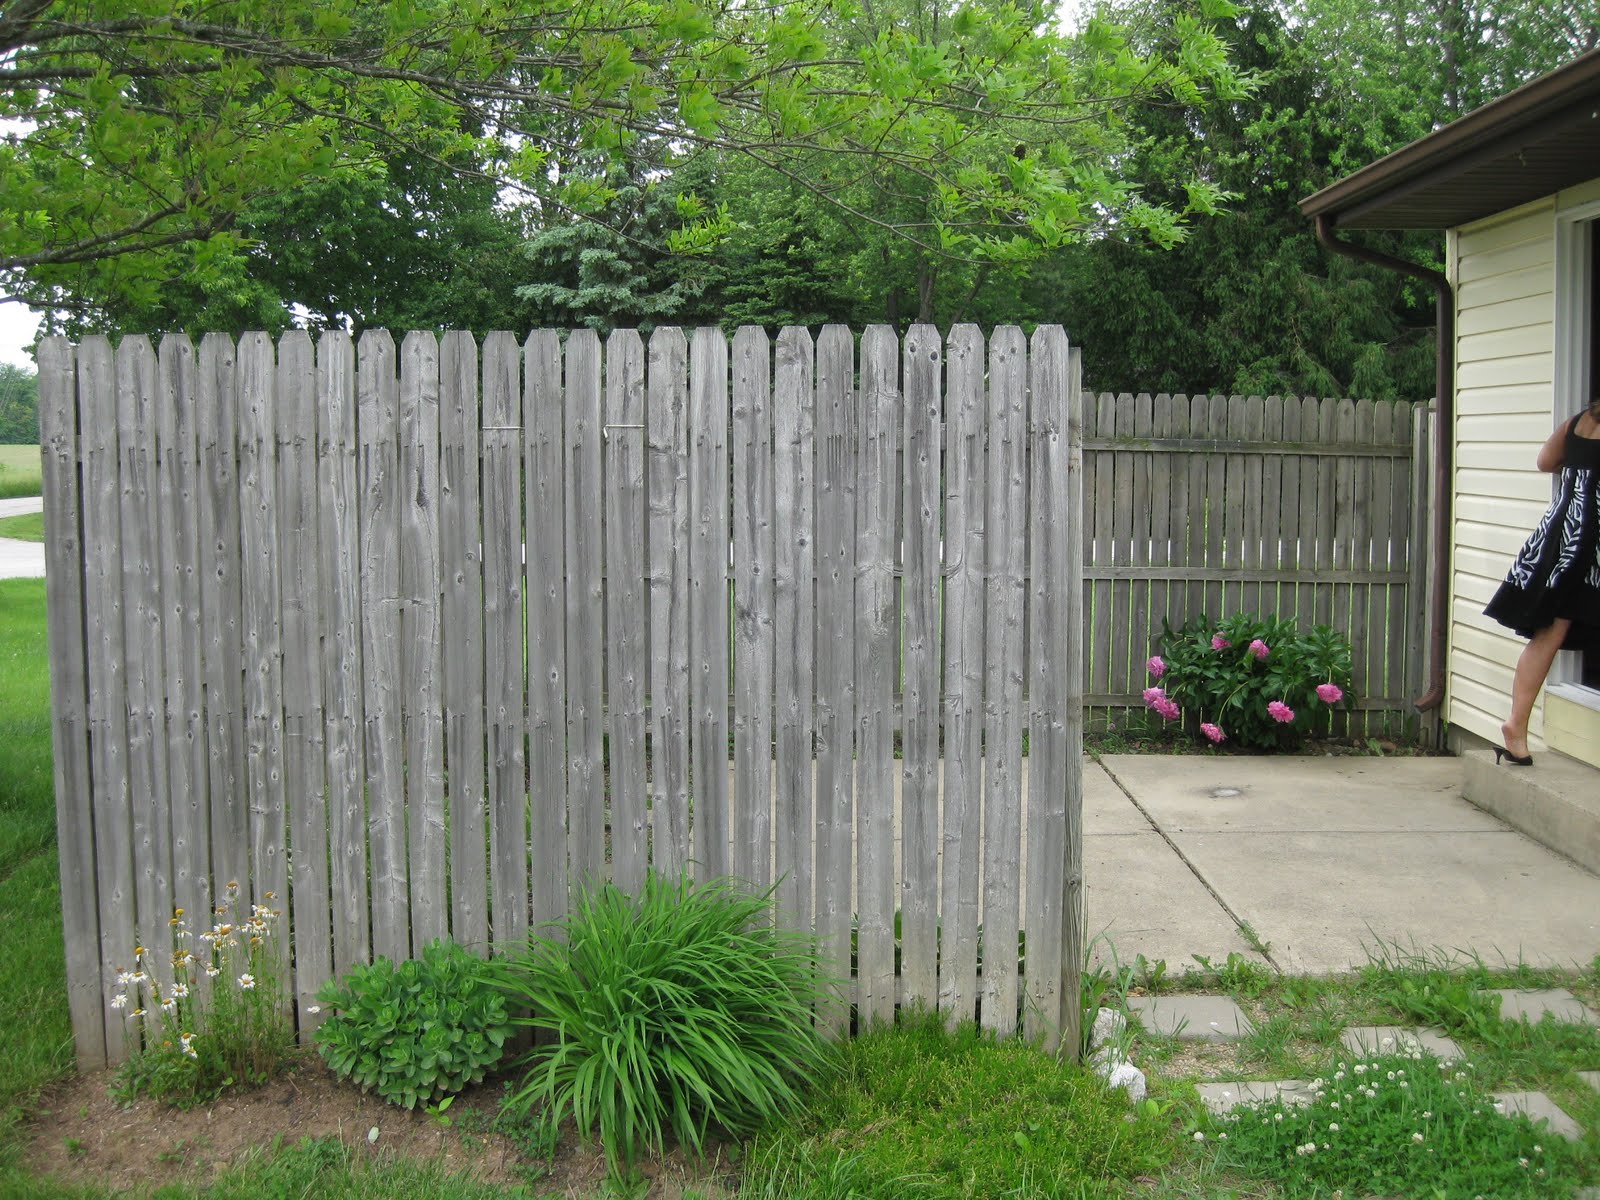
Luckily our families came down to help. I don't know if you have put in a fence or painted 11.5' ceilings lately, but it sure is a lot of work! Here is the yard and the living room walls before:


This privacy fence was right outside our back door around the patio. It was nice for privacy but because we have no backyard or side yard neighbors to the right, privacy was not really what we were going for. We wanted some beautiful views of the field behind our house. So the privacy fence had to go. T.J.s dad helped him demo it.


 Notice the crazy half painted walls and the molding between the off-white and gold? And when I say gold, I mean GOLD. It is hard to tell in the pictures but when it's about mid-day, this room was obnoxious. Because one of our favorite things about the house is the skylights in the living room, we wanted to enhance all the light they bring in. So T.J. and I decided to paint it a nice warm and inviting Morning Sunlight color from Behr (360A-2).
P.S. I just realized that my bathroom gray is Morning Fog and living room yellow is Morning Sunlight... must have been meant to be!
So here are some shots of us hard at work on our respective projects. 


First T.J. ripped out the molding and had to putty the walls. Apparently the molding had been put up while the paint was still wet causing big chunks of paint to come off with the molding. 


This is the scaffolding we had to climb to do the very top. Painting this room was a team effort, T.J. edged and my mom and I rolled.


Here T.J. is busting his butt digging post holes in 90+ degree weather. He looks good doing it though. :-)


T.J. even made his own gate.
And this is my view now:


And here are my fittingly named Morning Sunlight walls. 


I found this fabric that actually goes with my walls and my couch (which was harder than you'd think) at Joann's in the red tag clearance section. I think I ended up paying $5 a yard for them and bought 6 yards so, $30 curtains. 


  See how off-white the walls look here? The yellow takes on many different shades during the day. It almost always looks yellow in the kitchen, above my green walls. 


And here is how we looked as we finished our work day exactly 1 year after we were married:


Then we got cleaned up and went to dinner:
And they lived happily ever after in their cute little yellow house. :-)

Sunday, July 24, 2011

Morning Fog

The guest bathroom was one of the first rooms I started buying (and repurposing) things for before we moved in. As seen in this post and this post the mirror, lighting, and shelving were one of my first adventures on this blog. I still have a ways to go with this room including finding a rug (I'm thinking something black and white, maybe zebra?) and sewing a shower curtain. Here are some pics of the mirror etc. in place on the newly painted "Morning Fog" gray walls. This room has no natural light and on occasion takes on a blue gray tone.


Just a quick reminder of what these items looked like before:

All it took was a quick couple coats of spray paint to completely transform them! Total cost for the 3 items above: $29 (plus $7 for new shades for the lighting from Menards) = $36

Also, here is a picture of the lighting and mirror situation before, very 90's:
I am in the process of painting these candle holders black to add to the bathroom, more updates soon.

(Found at Goodwill for 1 dollar)
Related Posts Plugin for WordPress, Blogger...