Friday, July 27, 2012

How to Tie a Quilt

Today I bring to you the quick and dirty way to finish a "quilt" - which is in quotes because technically this is not a quilt because of the way it is finished. Perhaps you have seen these crazy t-shirt quilts before. This one I put together back in middle school in my mom's life skills class, so the shirts are from elementary and early middle school. I find it comical that 5 sports are represented considering I did not participate in any of them in high school. :-)


Anyway, it has been sitting around unfinished for a very very long time. Which is ridiculous, because finishing it only took me one episode of Pretty Little Liars! Why didn't I do this a long time ago?


So here is how it's done.

All you need is some yarn - just a couple yards is all it takes, and a giant needle. Mostly it just needs to have a big enough eye so that you can pull the yarn through.


This is what it should look like from the back:

After you have the needle threaded with the yarn you just stick it through the quilt (from the front to the back, then back up to the front again). Cut it so that each tail is about 2 inches long. Then tie in a knot. THAT IS ALL. SO EASY! Just do it over and over and over again. I chose to put ties in every corner between the t-shirts and around the edges between shirts. Special thanks to mom's hands for first teaching me, then demonstrating for the blog!


 Also - happy birthday to you mom! This quilt tying experience happened to fall on the weekend we were celebrating her birthday.


Wednesday, July 25, 2012

The Big Day

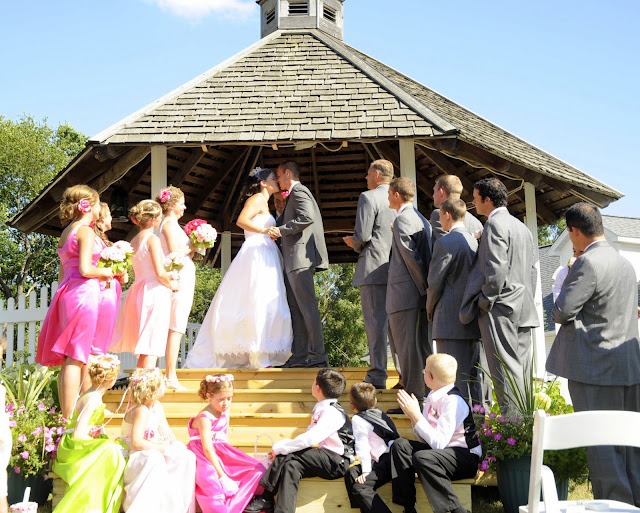
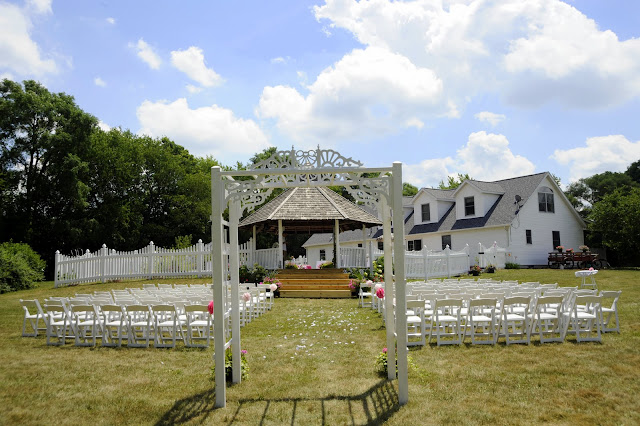
 Weddings sure are a lot of work. Even if you aren't a DIYer, I feel like the planning alone is enough for every one of your family and friends to need a honeymoon! I know mine did. I have always wanted to get married in the gazebo in my family's backyard, so when choosing a place for a wedding it was a no brainer. My only request - ha, I laughed out loud as I wrote that... I had many requests - so I guess one of my requests was that the gazebo be white for my wedding.


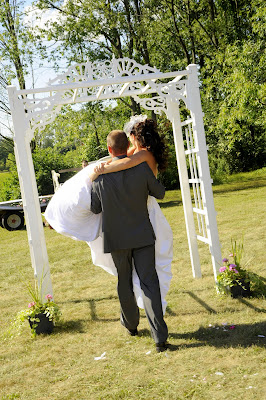
And to have those fabulous steps built to house the wedding party during the ceremony. And my dad made it all happen. And my mom painstakingly nurtured every plant and flower in the yard all summer so that they would be pink and perfect for the wedding. My wonderful husband-to-be fulfilled another request: an arch to walk through at the end of the aisle. He built this arch for me days before the wedding (we are painting it below).


This was my view as I started down the aisle, could it be more beautiful??


My mom embroidered the ring bearer pillow for us. If you missed the picture of my ring bearer on Monday, you have to go check it out here. Too cute.


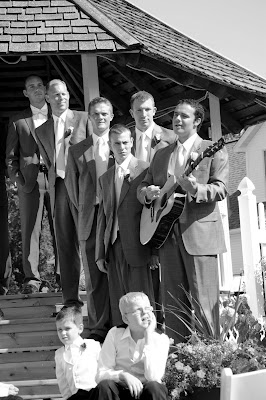
My brother played guitar, we kissed, and then I was whisked away through the wedding arch by my new husband. :-)


After the ceremony the guests walked through the gazebo into the fenced in back yard by the pool. We did the receiving line inside the gazebo in the shade - which worked out perfectly for the wedding party!  We had cocktail tables set up around the pool and these cute drink dispensers - one of which was South Carolina themed, and of course, pink and green like our wedding colors.
.


Then the party really started. The reception was also at my parent's house... in the side yard in a giant white scallopy tent. Just as I had imagined. I had my dad build us a custom dance floor for the middle - they had to erect the tent over it it was so big - and my brother painted our monogram in the middle. As you can see in these "before" pictures - much of this work was done within the few days before the wedding. So much of it comes together at the very end! 


My sister and I made these tissue paper puff balls a la Martha Stewart to hang above the dance floor. She even suffered an injury hanging them up! She claims she still has a scar. :-)


I made our table seating arrangement board by painting a giant canvas and attaching the assignments by table to it. The hardest part was deciding where everyone should sit - the fun part was making the board.


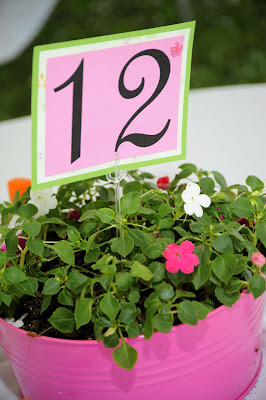
Our centerpeices were fresh flowers (my mom also nurtured these) in galvanized buckets. Our favors were punch cups with good n plenty's in them (wedding colors). We also set our bug spray and little books the guests could write their well-wishes in.


Our cake was amazing and made by the Essenhaus - if you don't know the Essenhaus, you need to!


We did our getaway - then I came back with my second dress - see details about that dress here. Then we danced the night away! It was amazing and well worth all the hard work. Big thanks to everyone that helped out! It really took a village.



Monday, July 23, 2012

Rehearsal Dinner Dress

 Wedding anniversary week seems to be bleeding into the next week... but I will wrap things up Wednesday with a final post about the ceremony and reception. So far we have covered the engagement, showers, the wedding dress(es) and what I wore this year on our two year anniversary.


I decided to post about the rehearsal dinner because I absolutely love the dress I made for this event. I knew I wanted this dress to be almost as special as the wedding dresses so I went all out. The fabric choice was inspired by the shoes and matching clutch I found at Aldo - I bought the shoes and T.J. got me the clutch for Christmas. I found the shiny light purple fabric at Joann's. I loved the way the front of the bodice had some flare without overdoing it. It was a fun one to sew too! If I remember correctly, it was a little hard to breathe in though by the end of the night. :-)


Check out the whole crew below... do you see that "gaggle" of children in the front??


 I couldn't help but share this gem... it may be the best of the rehersal photos! My little nephew took his ring bearer job very seriously! :-)


Friday, July 20, 2012

The Dress

The dress to top all dresses... that wasn't enough for me! I needed TWO dresses to top all dresses. And I knew from the start that I wanted to make them myself... with a little love, support, and help from my mom. And without further adieu... here are the dresses.

The one on the left is the one I wore for the ceremony and first part of the reception (dinner, first dance, garter/bouquet toss) and the one on the right was my party down dress for the rest of the night.

I put a lot of thought and time into each of these dresses. My ceremony dress  is actually made from a pattern from the 1960's that my mom and I altered to make a little more modern. The original pattern called for lace up to my neck and long lacy sleeves - we just took that part off and left the bodice and skirt alone. My mom found the fabric - up close it was beautiful and a  little iridescent - from a store in Indiana. I was living in Charleston at the time so she flew down for a few days to help me get started.


Above: making the first cut! Below: Mom helping out in Charleston.


 In the picture below you can see the details a little better - we added a sparkly (yet classy) trim to the top and to the waistline. I ordered my birdcage veil from an Etsy seller (I wish I could remember who!) And below you will see I wore a "crown" on top of it - my mom wore the same one when she married my dad.


 To go along with the vintage theme I wore gloves for about 5 minutes of the ceremony until T.J. needed my hands for my ring!


The picture below really shows the lace detail around the bottom of the dress - my mom and I actually decided to add that at the last minute. I think it might be my favorite part!


Now onto the second dress. I like to think of it as my very own Britney Spears moment - a dramatic outfit change into a short little party dress! She did the very same thing at her wedding with KFed. :-)


I hand sewed on every single one of those petals - I wish I had counted them, there had to be hundreds! Every moment I spent was totally worth it though. I felt so special in that dress.


This dress is especially special to me because it was the very first one I really feel like I designed and made a pattern for. The 2 pictures below were taken outside my apartment  in Charleston (so the hair and veil are different) - I don't think I even have one of me alone in it at the wedding.


And finally -- because my long wedding dress didn't do my shoes justice - I had to throw in this picture. Hot pink and a bow! Everything about that day was so so special, dare I say perfect? More details of the ceremony and reception to come... stay tuned!


Related Posts Plugin for WordPress, Blogger...