Showing posts with label gifts. Show all posts

Friday, January 17, 2014

Surprise!

My sister turned forty this year so naturally we had to do something special for her. My sister in-law, brother in-law, and I had been cooking up party ideas for a few weeks when my sister insisted she was throwing her own party.... on the same night as the surprise party we had planned! We decided to let her do it, and the surprise would just be all the extra people we had invited.


She wanted a wine and cheese party and I wanted a retro theme and we ended up with a good mix of both. When I arrived at her house a few days before the party she had some of the set up done already. When I saw the napkins she had picked out I thought she must know about the surprise - because they perfectly matched my invitations! Old pictures and blue and white polka dots. A crazy coincidence - or maybe it speaks to our special sisterly connection.


Her house always looks bright, cheery, and ready for a party.


Dessert table complete with a chocolate sampling bar!


Everyone brought at least one bottle of wine so we had quite an assortment to taste. I put pictures of Kate in her "younger days" out on the tables.


 I made Kate a sign out of a dowel, ribbon, fabric, felt, and hot glue (but I didn't make her wear it all night :-))


I also emailed all the party guests and asked them to send me old photos and a message to Katie. I compiled them all in a Shutterfly book (pictured above).
  
Cute 40th birthday gifts (below) - "40 sucks" and "40 is sweet" from her guests.


Cheers!

Wednesday, November 27, 2013

Ruffle Bum

I have always been taken by things that are small. Baby clothes are no exception. I was so excited to hear that friends of ours were having a baby... for the sake of having a baby, but also because I knew it would give me an excuse to make them something. I was even more excited when I found out it was going to be a girl! The only tough thing about it was picking out which pattern to use. I ended up going with an "It's so easy it's Simplicity" pattern (A1826).


If you need to make a Christmas gift for a baby, I definitely recommend this one. I had to stop myself from making 5 more and hoarding them away in the closet for my own future offspring.


The process was pretty simple - you need just a little bit of fabric, bias tape, and skinny elastic. There is elastic around each leg and the waist. The ruffles were easy to make - this is where I deviated from the pattern a little. The pattern suggested having a raw top edge on each ruffle and covering it with ribbon. I assume they proposed this because making a tube out of fabric and turning it around is time consuming, but I just made fabric tubes (by cutting long skinny strips of fabric, folding them hot-dog style with right sides together, and sewing along the long edge), turned them right side out, and used those to make my ruffles. That way the top edge was finished. You can see the gathering but I thought it looked better that way than with oddly placed ribbon along the top of each ruffle. Below you can see my stitching lines for each ruffle and how the bias tape was used to make a casing for the thin elastic around the waist.


Such a fun little project! Sorry I do not have a picture of a baby actually wearing the diaper cover... I will work on that!  


Friday, January 11, 2013

Luggage Organizers

My final Christmas gift post may be the best one... luggage organizers!


This is a great gift because it is useful and was inspired by a real life need. When I traveled to Orlando this fall for work I had very specific outfits picked out because it was a short trip and I had to look very put together. I wanted to keep my top, bottom, tights, shoes, and jewelry all together. Unfortunately, I did not have a good way to do it - so I used grocery bags. Super classy right?

So the idea for better luggage organization was born. I didn't have time to make them before my trip but I vowed to make something afterward. Since it was before Christmas I thought - who else is "crazy" enough to want to organize their lives to this extent? (Note: I use the word crazy with caution here - I admit that I am crazy, but I would never claim anyone else is crazy!) I remembered that my sister in-law often packs my nephews with outfits all folded together ready to go, so I thought maybe she could use some too. I ended up making her some for herself and for the boys. I think they will come in handy. I even had a couple requests for more from other family members when she opened them.


I used mine over Christmas break and they worked great. I might make a few that are even bigger next time. I used a serger to sew them together, but you could easily use a sewing machine. Depending on how big you want to make them, you just cut out one long strip of fabric with one end cut into a triangle - then fold up the bottom to about 2 inches below the start of the triangle and sew up the sides. This will create an envelope of sorts. I chose to add velcro for extra security, but I think they would be fine without it.


My measurements were: 21 inches tall from bottom to top of the triangle, 15 inches wide. The sides before the triangle cut were 16 inches tall, then I cut at an angle 9 inches - I realize this is confusing, so check out my equally confusing picture below. Really - just wing it, it will work out.


Are you crazy organized enough to use something like this?

Thursday, January 3, 2013

Quick and Easy Gift: Sachets

Every Christmas I make a gift that is easy enough to give to everyone on my list. Last year I made business/loyalty card holders. One thing I really love about fabric is that there are a million patterns/textures/colors to choose from. This way I can make everyone the exact same thing, but each is still unique because I picked the fabric just for them.


This year the gift was sachets. I love these little things. I got my first one nearly a decade ago and I still have it. It barely smells anymore, but it is beautiful! I went with an easy 4x4 square of fabric. Sew three sides completely and leave an inch and a half opening in the fourth side. To spice things up I occasionally added lace or ribbon to one side.

I found the filling at Michael's and Hobby Lobby. I picked out a couple "clean" smells like ocean breeze and cotton, but added in pomegranate too for extra fun. :-)

While I hate to say how cheap my Christmas gifts were, these were pretty cheap. Most of the fabric I already owned, I just matched it to the person. The filling for all the sachets totaled less than $15 (and I made about 40). That makes them about 38 cents each and less than $2 per person (for 4 sachets). If I had it to do over again I would have filled them more by adding more filling, but to be honest I don't think it would have affected the scent, just the look. They turned out like flat (but pretty) pillows.


I wrapped them in sets of 3 or 4 for each person. 
It is a gift that keeps on giving all year (or as long as they stay scented!)

Wednesday, December 26, 2012

DIY Recyclable Shopping Bag

A little over a year ago, before our big Black Friday shopping outing, my sister gifted me a super awesome reusable shopping bag from Gap. It is nylon, light, and small enough to fit in my purse. I try to use it everywhere I go so I don't come home with a bunch of bags I am just going to get rid of. It also held a heck of a lot more than would fit in your average Forever 21 or Old Navy bag. When I was shopping for fabric for a different Christmas gift I was making I ran across this adorable fox fabric at Joann's. My sister and I had just had a conversation about how foxes were going to be the next chevron and the fabric almost perfectly matches the way her basement is decorated. So I had to get it. I had also noticed that she used her Gap shopping bag a lot, and maybe needed another one.


Above is the finished product - and how you would stick it in your purse. 
Below is what it looks like opened up.


And how it folds...

The secret is this little pouch attached to the top hem of the tote bag. 
It allows the whole thing to fold into itself and become discrete. 
I just used the one she gave me last year to engineer the pattern for this one.


Monday, December 24, 2012

Admit One


I made this Admit One ticket holder for my musical-loving sister for Christmas. I think I might need to make myself one too. I realize it matches absolutely nothing in her house, I just don't care! It was too cute not to make. Good luck finding somewhere to put it Kate!


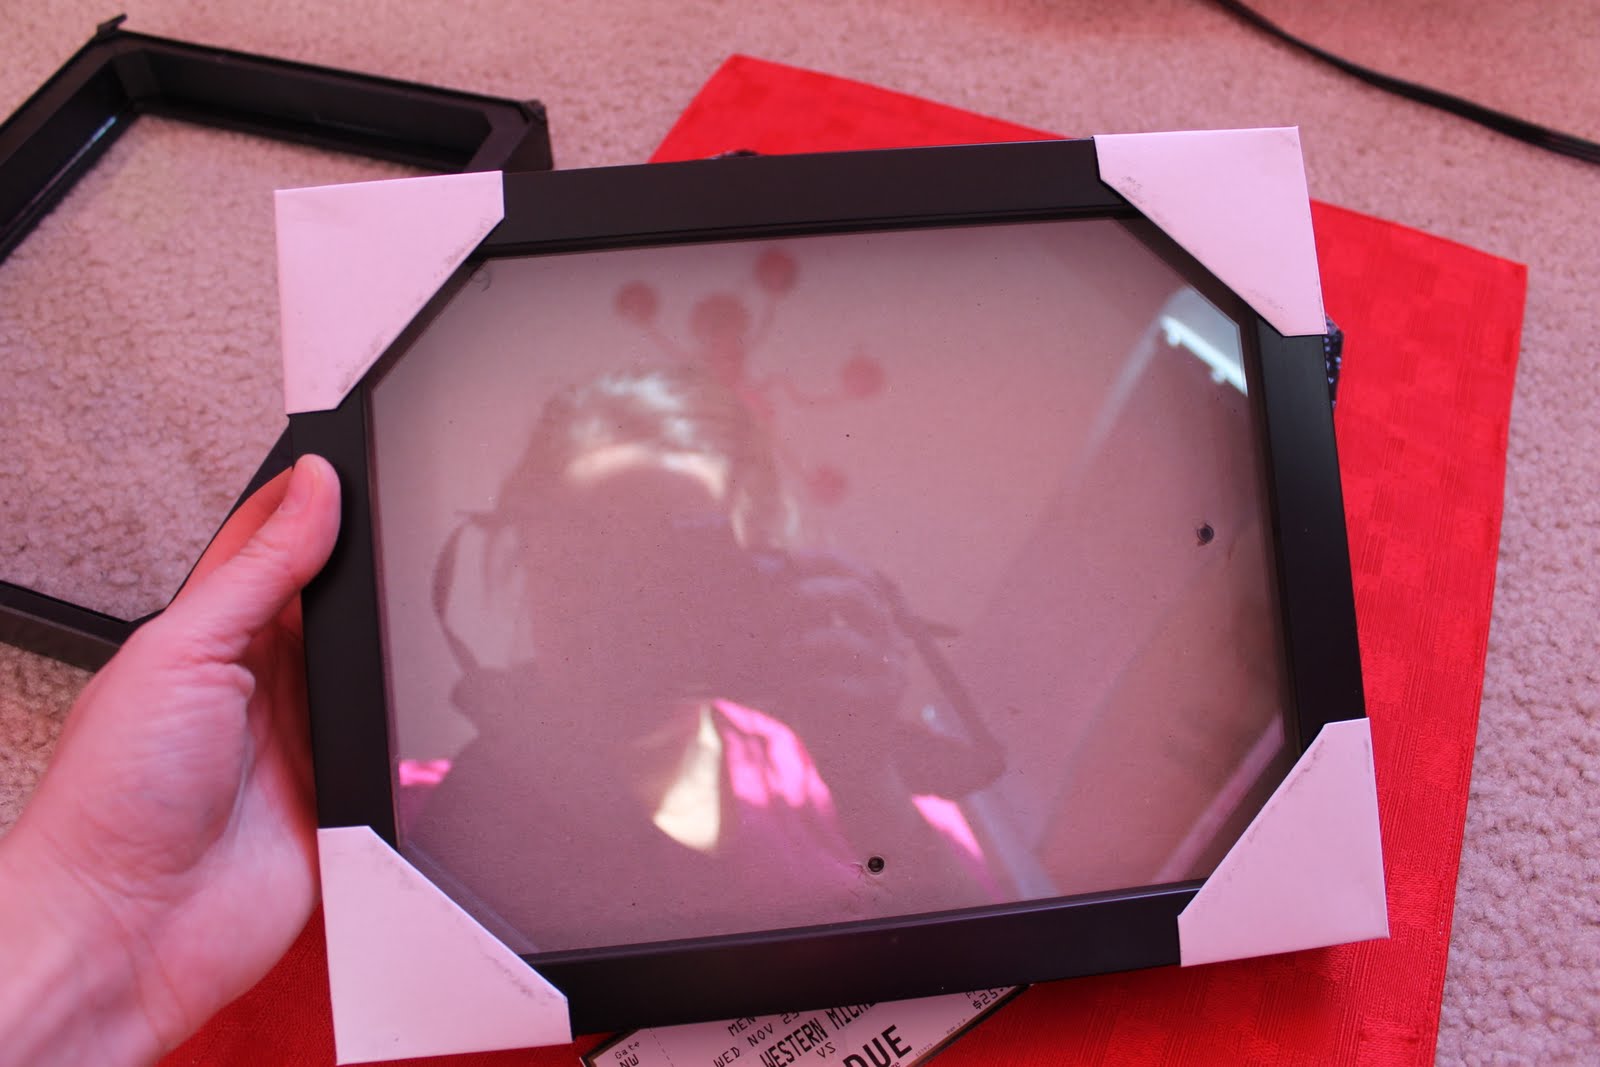
I actually got the idea from another blog I read, written by a crafty old friend of mine I went to school with. Check out her inspirational blog here, and her Admit One project here. Like Ashley, I went hunting for shadowboxes at Michaels. They were having a crazy good deal that day, so I picked up a plain black one, about 8x10. I also searched around for theater-looking letters and background. I found the most beautiful piece of scrapbook paper for the backing - it is textured and glittery and inky black. I just glued it right to the back of the frame with hot glue. Then I added some shiny textured letters, securing them with hot glue as well.


For fear she would open the gift and have no idea what it was for, I took some old tickets and taped them together to put in the box. They are not musical tickets (because those are for my own scrapbook) but they are WMU tickets, which I thought would be funny (my sister went to WMU's rival school). Go Broncos! 


I also learned it is incredibly hard to take a picture of a frame during this project. 
Any tips out there? Yikes!


Saturday, December 1, 2012

Reindeer Silhouette Pillow


I made this reindeer silhouette pillow for my sister this year for her birthday. I think it turned out pretty cute. :-) She does not follow any rules when it comes to Christmas colors - so this grey and blue reindeer pillow will fit right in with her holiday decor.

To start - I found a silhouette I  liked by searching Google Images, copied and pasted it into Word, blew it up, and printed it out. Then I cut around it, pinned it to some felt (30 cents a sheet at Joann's), and cut around it again. Cutting the antlers out of the felt was a bit of a challenge, but not too bad.


Then I cut out my chevron fabric (Hobby Lobby) for the pillow and before sewing the two pieces together I sewed on the reindeer silhouette. This was a bit tricky as well, but with lots of pins it isn't too bad. I just used a simple hand stitch to attach the felt to the fabric - you can see my stitches clearer 2 pictures below.


My own Holiday decor is a little more traditional - the silhouette isn't sewn onto this pillow yet, but soon!


And because it is December 1st - I thought I'd share our Christmas lights this year. I put them up all by myself! It was a harrowing experience, but I survived.


Related Posts Plugin for WordPress, Blogger...