
Now we get to the important part. I painted the front door! Finally! T.J. and I bought the can of paint back in July right after we moved in. We were waiting for it to cool down enough to be able to keep the door open all day and not sweat to death... then we waited for too long. Thank goodness for this freakish warm spell mid October. I had 4 warm days in a row to work with (3 were necessary for this project - another thing I did not expect). So here is our lovely little orangish yellowish blah door before.

And from the street:

Can't really see it in that one? Yeah, me either. That is why I wanted to paint it. Here is how I went about doing so and how you can do it too. Don't want to read my wordy explanation? Scroll down while looking at pictures and find the numbered list near the bottom - it has all the information abbreviated.
But first... a little sneak peek at what's to come.

I have many reasons for choosing red. The most interesting one though is that all Sigma Phi Epsilon houses have red doors to signify that brothers are welcome. I always thought that was a cool fact and sort of wanted a red door for T.J. This is true too, T.J. and I always check out the Sig Ep house when we are in a city with a college campus and they all have red doors! My sorority house door was wood... not so exciting.

2. So months after step one I finally decided the time was right to paint the door. First things first, I gave the door a good scrub. Front doors are much dirtier than you would think. Especially the edges in the recessed areas. Make sure to use soap and water and let dry completely before moving to step 3.

3. Prep the door and yourself. Washing the door was part of the prep but also tape off any hardware and remove nails or hangers. My door had a handy command strip hanger on it, which I wish I could have kept up but had to take down. It came off like a charm too, just like the package claims it will.
Put down newspaper on the floor. Get out your roller and a wet towel in case you drip. I am sure you can use a paintbrush as well but a roller gives a smoother finish.
Prepping yourself is where I failed. I suggest wearing rubber gloves for this process. I had not realized oil based paint is the kind you need paint thinner to remove. I still have red all over my hands!

4. Coat one. This paint was pretty thick already so I tried not to coat it on too think. The door is still attached to the hinges so gravity plays a big part here. If I had rolled it on too thick I would have drips all over the place. This first coat took a little while to complete to get in all the crevices and corners. I am sure it would go faster with a flat door. I made sure not to get any paint on the sides of the door. Also - you can hold onto the door knob to get some leverage if you don't remove your doorknob before you paint.
Here is how she looked after coat one. Not too thick yet not thin either.

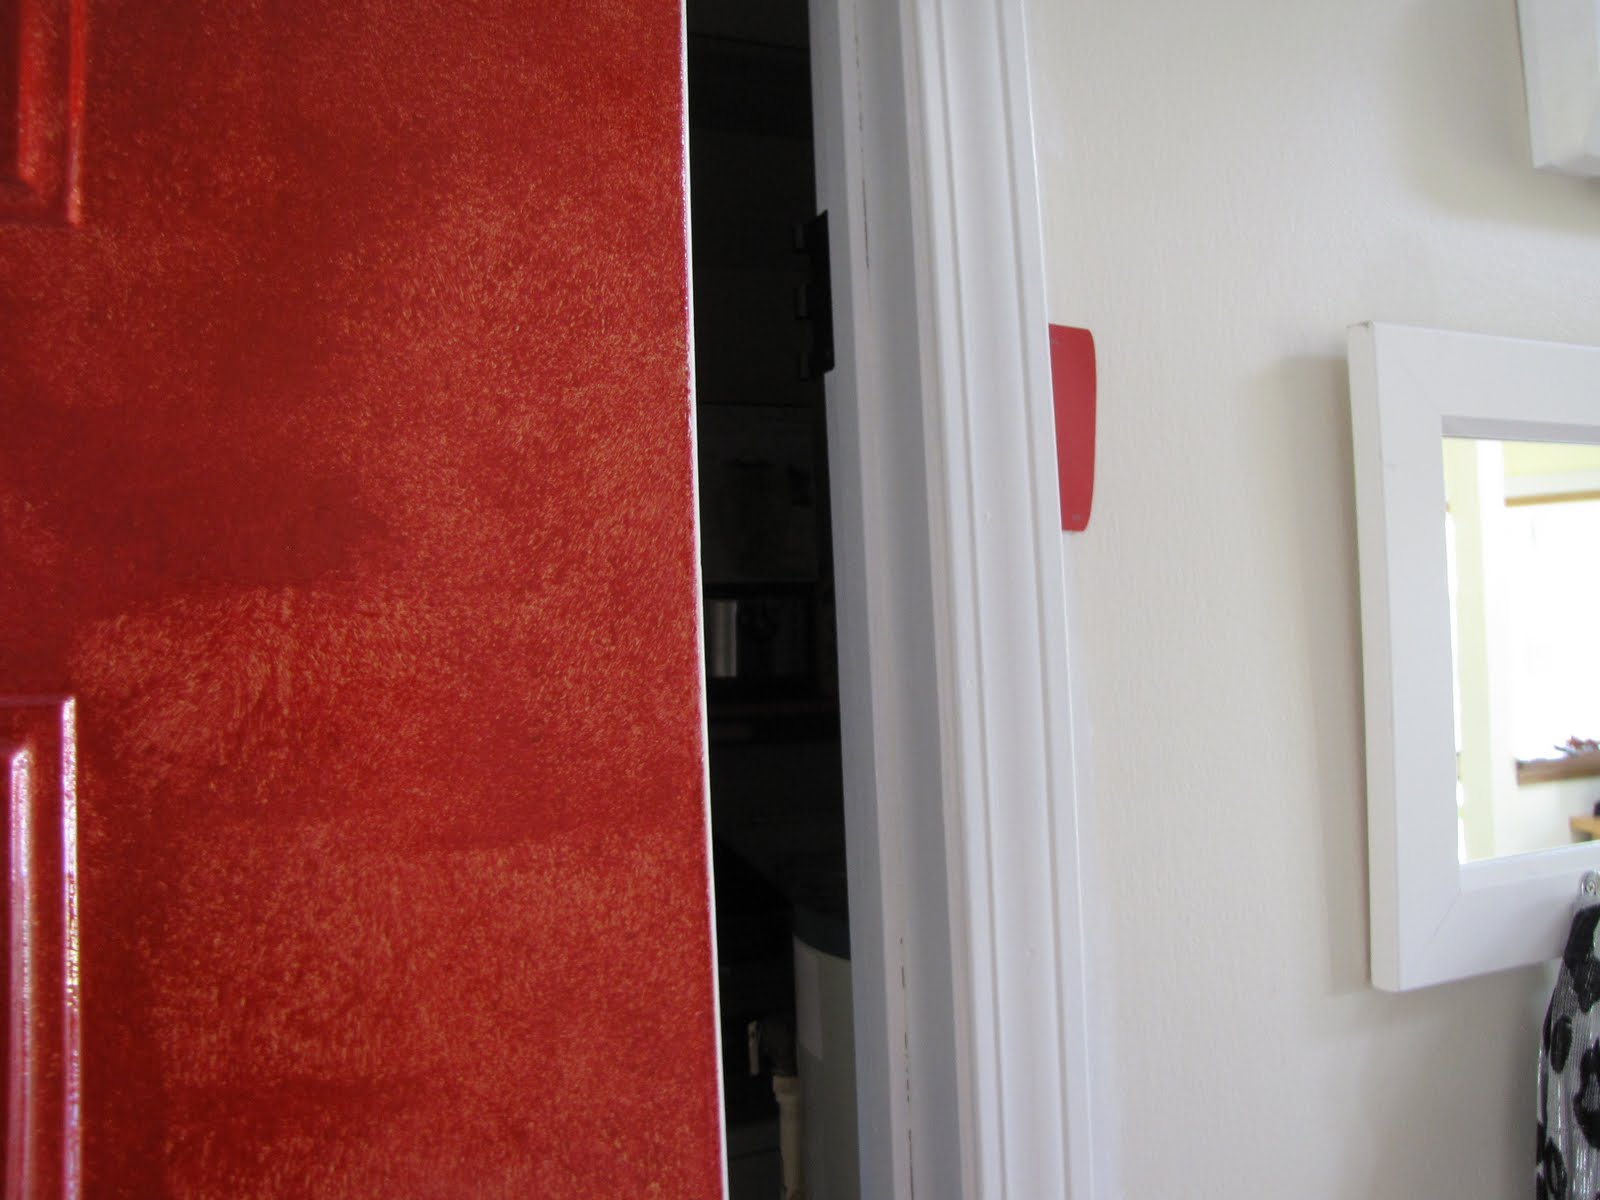
In this picture you can see more of how thin/thick the paint is on the door. Definitely some show through of the old color still. See the paint swatch stuck in the doorjam behind the door? That is Pepperberry - the color we are going to paint the walls in the foyer. I was afraid they would be either too similar or just too different to look good together. Pepperberry has more of a pink tone to it than the front door but I think they will mesh together just fine.
5. Wait and be patient (two things I hate doing). I figured I would move on to the "coat 2" step here just a few hours after coat one. I was wrong. After coat one I checked the back of the can to see how long I had to wait. I figured 3 hours like regular paint. Nope. It said 4 hours to dry to the touch, 5-9 hours to dry for handling, and 24 hours before a second coat could be applied. Two pieces of sad news there. 1. I could not close my front door for at least 5 hours, and 2. I had to wait until the next day to apply the second coat. In the mean time all the neighbors would see my splotchy door! Luckily I don't care too much about that last thing. This is where the nice weather came to be so important. I needed at least two days of it for this project. And so I waited.
6. Coat two went on like a breeze. Now that I knew to be careful with the oil based paint on my hands I had no issues. I just had to wait 5 hours again to shut my door. I was hoping only two coats would be enough. I have always heard applying red or covering red takes at least 3 coats but this oil based paint was so thick I thought it might defy that rule. Wrong again. It definitely needs 3 coats. Here's the door after two.


7. Coat three was even easier. This time there were some strong breezes though and the door slammed shut on me once while it was drying. Watch out for that!


8. Replace hooks, hardware that was removed, and maybe add a knocker. That is what I hope to be doing soon. I saw an adorable fox knocker awhile back... if only I could remember where I saw that. It had a smaller head than this guy seen below. (Fox Knocker picture from here). Ooh, I also just realized why I like this fox knocker so much! It kind of looks like my dogs! Papillons and foxes have similar shaped heads and ears. I can't wait to see the door with a pretty green wreath on it this winter. It will be gorgeous!


All in all the door painting job was a success. I am considering repainting it as often as twice a year! Maybe I will go lime green in the spring. It really does not take long, doesn't use very much paint, and did not take much effort. Other than the waiting in between coats. :-) Next time I will try latex paint instead, especially since we have a big roof overhang in front of the door keeping it safe from most weather and all rain. Also, I would not do super glossy paint again. The gloss really brought out any dings or dents in the door which honestly I had not even noticed before. Maybe if you have a mint condition door the gloss would look good, but otherwise I'd go with something a bit more matte.
Any fun door color ideas you want to try/think I should try? I love the idea of bright but I feel confined by the yellow and brown exterior of my house.
1 comment:
Thanks for supporting the idea of 360 degree feedback. I’ve seen it create division in senior teams when handled incorrectly and seen transformation happen when used elegantly. It’s all about the intention and skill of those who facilitate the process.
residential painting services
Post a Comment