

When my dad was here last weekend I tapped his brain for some electrician knowledge. Turns out, changing light switches is pretty easy business. I was glad to have him here to walk me through it first though! So here are the pretty simple instructions.
1. Go buy the replacements switches. I bought mine at Menards. Make sure you take time to look at all the options they have there. I originally bought this kind:

This version (make sure it is a 1 way if your light/fan has only 1 switch that goes to it) was only $1.88. When my dad came we went back to Menards to check out what other options they had - the one above was a little wide for the hole they had to fit in - and ended up buying these switches instead:

These switches were only 49 cents! If you look closely you will see that the switch on the left has an extra screw on the left side. That switch is for a light that has two switches that control it (like my hallway chandelier). The one on the right is a regular one way switch. The width of these two are a lot closer to the switches the original builder installed in our home.
2. Step 2 is to unscrew the existing light switch covers and switches. This step is very easy and straightforward. I would head out to the garage (or wherever your circuit breaker is located) and switch off the power to the light switches first.


3. Once all the switches are unscrewed and pulled out of the wall, the wires have to be removed from the back of the original switches. This is where it becomes very important to have the power off. On the back of the switch, right next to where the wire goes in, is a small hole. Something small needs to be pushed down in the hole to release the wire. We used a nail held with a pair of needle nosed pliers (to ground myself - for safety). It is handy here to have two pairs of hands - one to push down the nail and the other to pull the wire out.


 4. Next, we had to put the wires back (in the same order/position) into the new switches. Some of the wires were a little too wide to fit back in the new holes on the back of the switch (which were a little smaller than the old switches) so dad taught me another way to connect the wires. The screws on the sides of the switches can be utilized too. I just had to bend the wire to fit around the screw with the needle nosed pliers, hook it around the screw and twist the screw down snug over the wire.


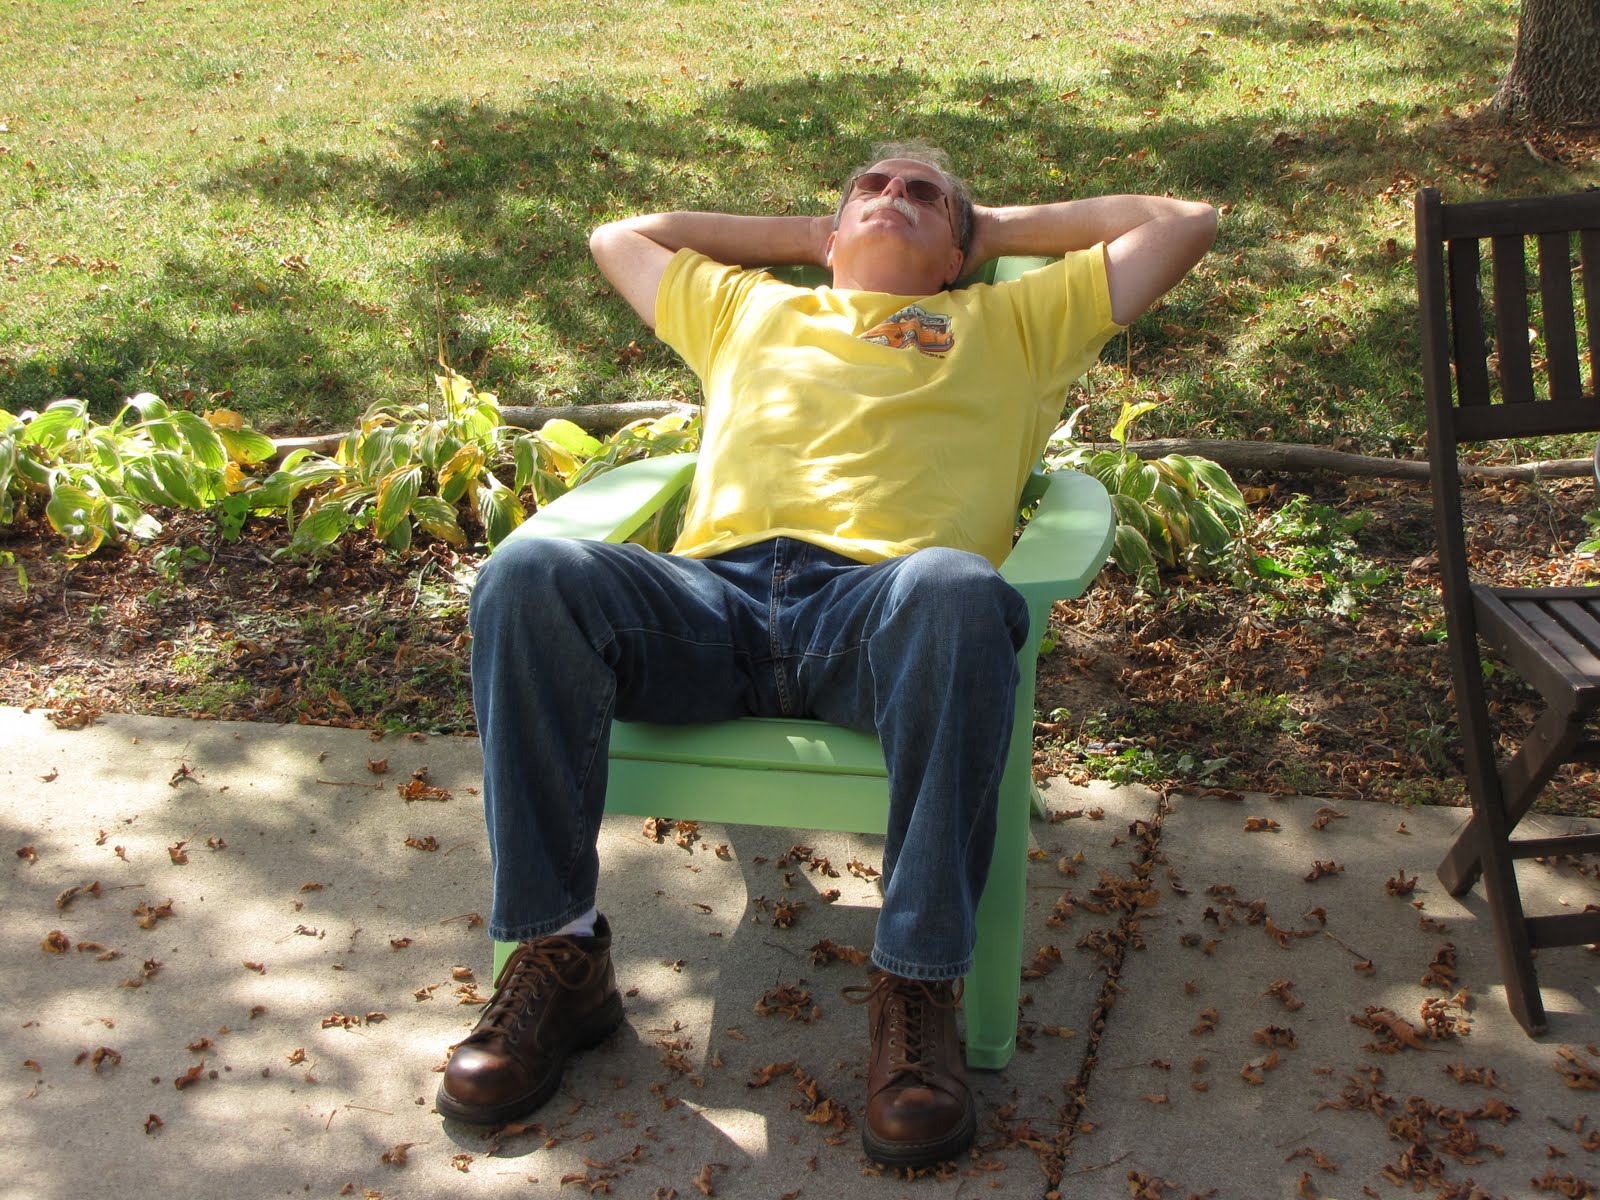
5. Take a little rest outside... oh wait, I guess you don't have to do that.... But that is what dad did. :-)
6. Screw the new switches back to the wall, then put up the old (or buy new) switch covers and screw those into place as well.
7. Enjoy the crisp new switches! I think they look a million times better!

Here's the before and after picture rundown:

An easy project that can make a big difference in the feel of your home! You could update yours today. To do the 4 switches I changed, it only cost $4! Room by room they will all be done eventually in my house. Oh, and here's that shortened list of steps again.
1. Go buy replacements switches.
2. Unscrew the existing light switch covers and switches.
3. Once all the switches are unscrewed and pulled out of the wall, the wires have to be removed from the back of the original switches.
4. Next, put the wires back (in the same order/position) into the new switches.
5. Screw the new switches back to the wall, then put up the old (or buy new) switch covers and screw those into place as well.
6. Enjoy the crisp new switches!
No comments:
Post a Comment