

The stencil cost about $6 not on sale. I'm sure we could have used a 40% off coupon or waited til it went on sale and gotten an even better deal. But alas, we were impatient and excited to keep stenciling! We also picked up two of these square 12x12 canvases (buy one get one free) for a total of $8 at Michael's.

Next we had to decide what we wanted them to look like. Since my sewing room has a black/pink/white/gray theme going on I chose to paint my canvas all black. Kate painted hers tan. We used cheap little foam brushes to paint with.

We used little bottles of Folk Art craft paint, which you can get at Michaels for less than a dollar a bottle. It took hardly took any paint to cover the canvases with two coats.

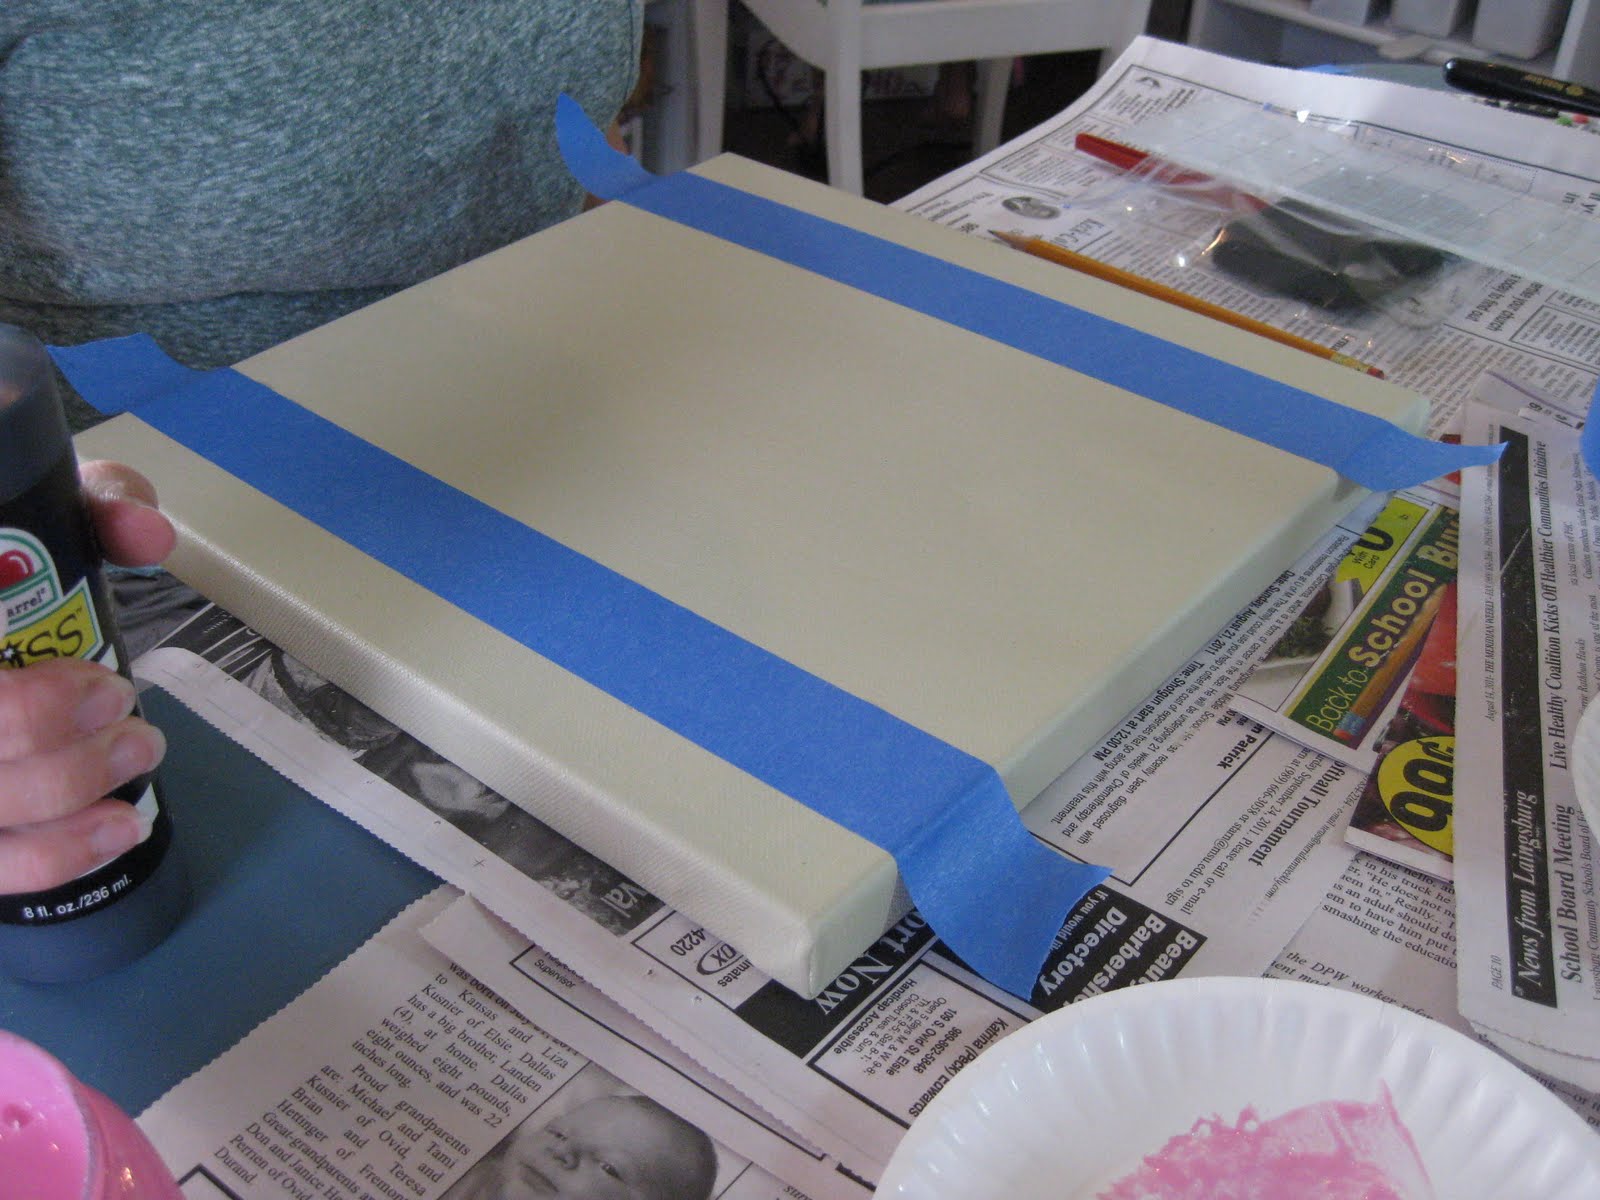
The black I used had a bit of a gloss to it so it would be extra shiny (because I can't get enough of shiny things). After they were dry Kate got to work putting a border around her canvas. She used painters tape to tape off the middle of the canvas so she could paint the outside edges black.


And viola, instant charm. Now it's stencil time. I measured the edges so I knew my stencil was in the middle then I just used a couple pieces of painters tape to hold it down. We didn't even use tape on the furniture we did the day before - if it is a pretty small area, holding the stencil down with your hands will be sufficient.

Kate found this awesome Martha Stewart glitter paint at Home Depot and I was dying to try it. You can see how it went on in the picture above. Sort of thin. More on that below.

There are special brushes sold for stenciling. They are sort of stiff bristled and round. I bought two for $3.99 at Michaels. When stenciling you want to make sure to hold your brush at a 90 degree angle from the surface and "pounce" the brush. By pounce I mean just sort of pat it (or jab it if you are me) up and down on the stencil. Do not rub, do not brush as you usually would when painting, those kinds of motions allow the paint to creep under the stencil. The idea of the pounce is so that the paint does not run anywhere other than right where you put your brush.Also, you need to remove as much excess paint from the brush as you can. Extra paint on the brush causes the same problem as rubbing or sweeping your brush... paint creepage. This may sound complicated but I promise it is SO easy and SO fun. While we are at it - the thicker the paint the better too.

So as you can see in the above pictures the glitter paint was turning out pretty thin. I decided to let it dry and see how it did. When I lifted off the stencil I was pretty shocked with the results.

Green! Blue! How did this happen!?!?! I had practiced the stencil with the pink glitter paint on a white piece of paper and it looked perfectly pink. Disaster on black though. So after grumbling for a few minutes I decided to repaint the stencil using plain pink paint, then do the glitter again over the top after the pink had dried. Worked like a charm. Apparently the glitter paint just can't handle colored backgrounds.


Turned out pretty cool I think. And Kate's turned out just as awesome if not better.


When I got home I hung my chandelier stenciled art in my sewing room where she belongs. And now I have a matched pair of fabulously pink chandeliers.


2 comments:
Awesome! Yeah cottage gifts!
I love your shoe rack on the wall!!! What a great way to display your shoes and remind yourself to get dressed up once in a while lol. I just found your blog but will be searching for a diy on the shelf!
Post a Comment