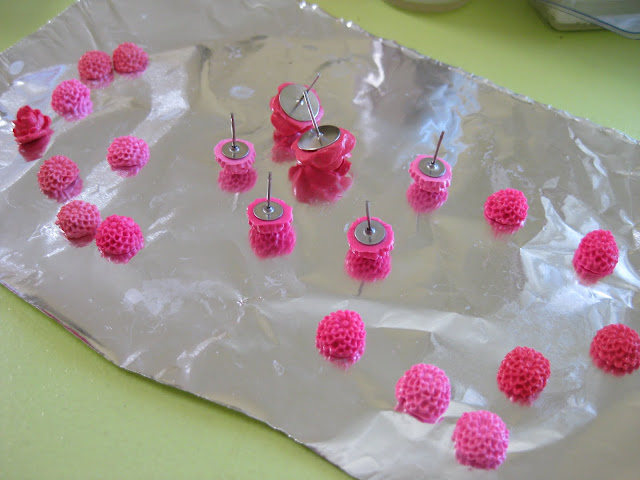
I bought the molds from this Etsy seller - their store has a TON of options. I settled on some small mums and a variety of rose sizes. I purchased a variety pack of Sculpy oven bake craft clay to start with so I would have lots of color options. It didn't take me long to figure out the "real" clay is much better for molds... but I will get to that in a minute. For my first batch I used the variety pack to mix and make a few different pinks and blues. I worked on a piece of tin foil and baked them on tin foil on top of cookie sheets to keep my cookie trays clean. Using the molds is fun but a little tedious. This many flowers took me a couple hours, but I got a lot of flowers out of it! I baked the clay pieces at 275 degrees for 15 minutes. The time and temp vary depending on the type of clay you buy, so you need to check the package before you bake.
At least another hour or two are needed after the clay is baked for glossing and attaching the earring backs. I picked up this gloss at Joann's to put on the clay after it is baked to add a little shine/make them look less like clay art projects from elementary school.
I also found earring backs at Joann's - bigger backs for the roses and smaller ones for the mums. I used super-glue to attach them - I went back and forth between hot glue, E600, and super-glue and settled on the super stuff. So far so good. I've been wearing one pair for about a week now and have had no problems.
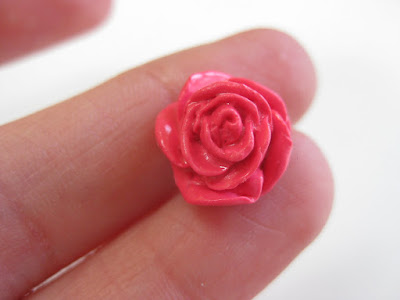
See how the ones above are less than perfect? I figured out how to fix this! Only after I made about 30 pairs of earrings - turns out the variety pack of "craft clay" is a lot softer than regular Sculpy clay you buy one at a time so that kids will like to work with it. The single sold clay is much harder, which makes working with it hard on my hands, but also makes it much better suited for molds - the harder clay holds its shape much better than the soft pliable clay. Fimo, Primo, and Sculpy 3 are all great. Fimo and Primo sell really beautiful shiny "effect" varieties too.
See how small they are? Perfect for earrings.
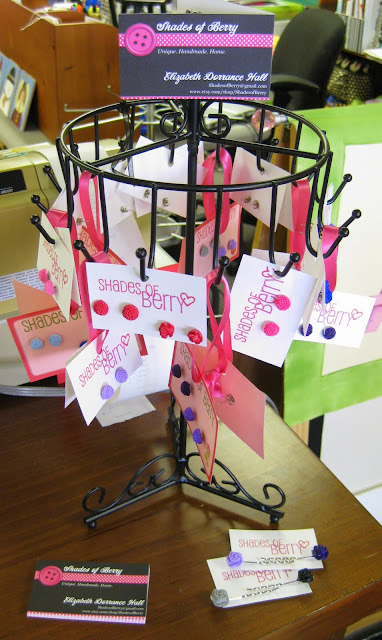
I have collected quite a variety already, so naturally I thought I'd stick some up on my Etsy store. I also took some to my mom's Paint and Yarn Shop to sell (check out my display below). What else could I possibly do with so many earrings? They are addicting to make. My favorite part is custom mixing colors. The teal ones in the above far left I made by channeling my best friend and her favorite shade of teal.
What do you think? Could you jump into working with clay like this? I usually like to watch lots of videos and read lots of blog posts before I try something new... but this time I had very little to go off of... and guess what? It worked out just fine. I have even invested in a pasta machine now so stay tuned for more adventures in clay-work.
Maybe beads and buttons next!?!


4 comments:
These are great! I want to learn now, too. Thank you for the tips!
Those are super cute! Love them!
So cute! I would like one of each of the blue sets please!
Very sweet. :-) Great job, and thanks for linking up with the Winter Pinterest Challenge!
Erin @ The Great Indoors
Post a Comment