Saturday, November 5, 2011

Pepperberry Walls & Crisp White Doors

I have finally painted my foyer. It has been a long time coming. Buying the Pepperberry paint was what I requested for my birthday outing back at the beginning of September.
All this past week I was looking forward to getting messy in some red paint... I think I somehow managed to forget just how much work it is to paint a room. I also talked my husband into helping me finish painting the doors that still had not been put back up from when I painted the trim in the foyer. First things first though, the paint.

When we went out to buy paint, I knew I wanted something bold. We have a small entryway and I thought it was an opportunity to use a bright color without it being overwhelming. The color pallet I was choosing from was created from this fabric (purchased from Joann's - also seen in pillow form, on my hallway bench, and on recovered chairs - clearly I like these colors):


I was leaning toward orange, I think mostly because it felt safer to me than the pinkish red or purple alternatives. T.J. of all people encouraged me to go even bolder and pick the redish pink. My sister and I named it "raspberry" and Dutchboy apparently named it "Pepperberry" - I was combing Pinterest one day and found this picture - apparently this is a pepperberry garland. Who knew.


Before I started painting I remembered a trick I had seen (also on Pinterest) for conserving paint trays - I know it seems silly but even saving $2 counts around here... I wrapped my tray in tin foil, like this:


And it worked! It was successful in the end and now I don't have to buy a new tray for my next paint job. When I opened up my paint after sitting for a month and a half I saw something a little scary.


It was peachy and purple and alarming! I thought I had shook it up enough before I opened it. Apparently not.


I few quick stirs later we were in business. Pepperberry - looking a little peachier than the paint swatch, was ready to go.


No turning back now...


After the first coat things were looking horrible. It felt very much like a frat house paint job. I knew it would take a few coats, but this display was quite disheartening!


Things were looking a little better after the second coat (above). Meanwhile... T.J. and I constructed a kill room a'la Dexter in the living room by putting down a giant drop cloth so he could paint the doors while I painted the foyer.


 We were able to get all three doors we had taken off the hinges down on the floor and put 4x4's under them to prop them up. First T.J. rolled on a couple coats of this primer - which worked like a charm. Then he used the same white Behr paint I used to paint all the trim to finish rolling the doors.


Finished product time! Are you ready for the big reveal??

.
..
...


Laundry Room Door

 
How classy is this chandelier? I can not get over it. FOUR DOLLARS! I paid four dollars for this chandelier at a flea market last month (read about it here, and its spray paint transformation here). I think it looks amazing with the rich red walls and the crisp white doors.


This art used to hang in our apartment in Charleston - it is a painting of Folly Beach's pier. I thought the pepperberry walls really picked up the red in the painting. I bought this frame for $3 at a flea market and spray painted it white.

One more before and after of the front door:

Can you believe the transformative power of paint? It blows my  mind!

Thursday, November 3, 2011

Tray Chic


A


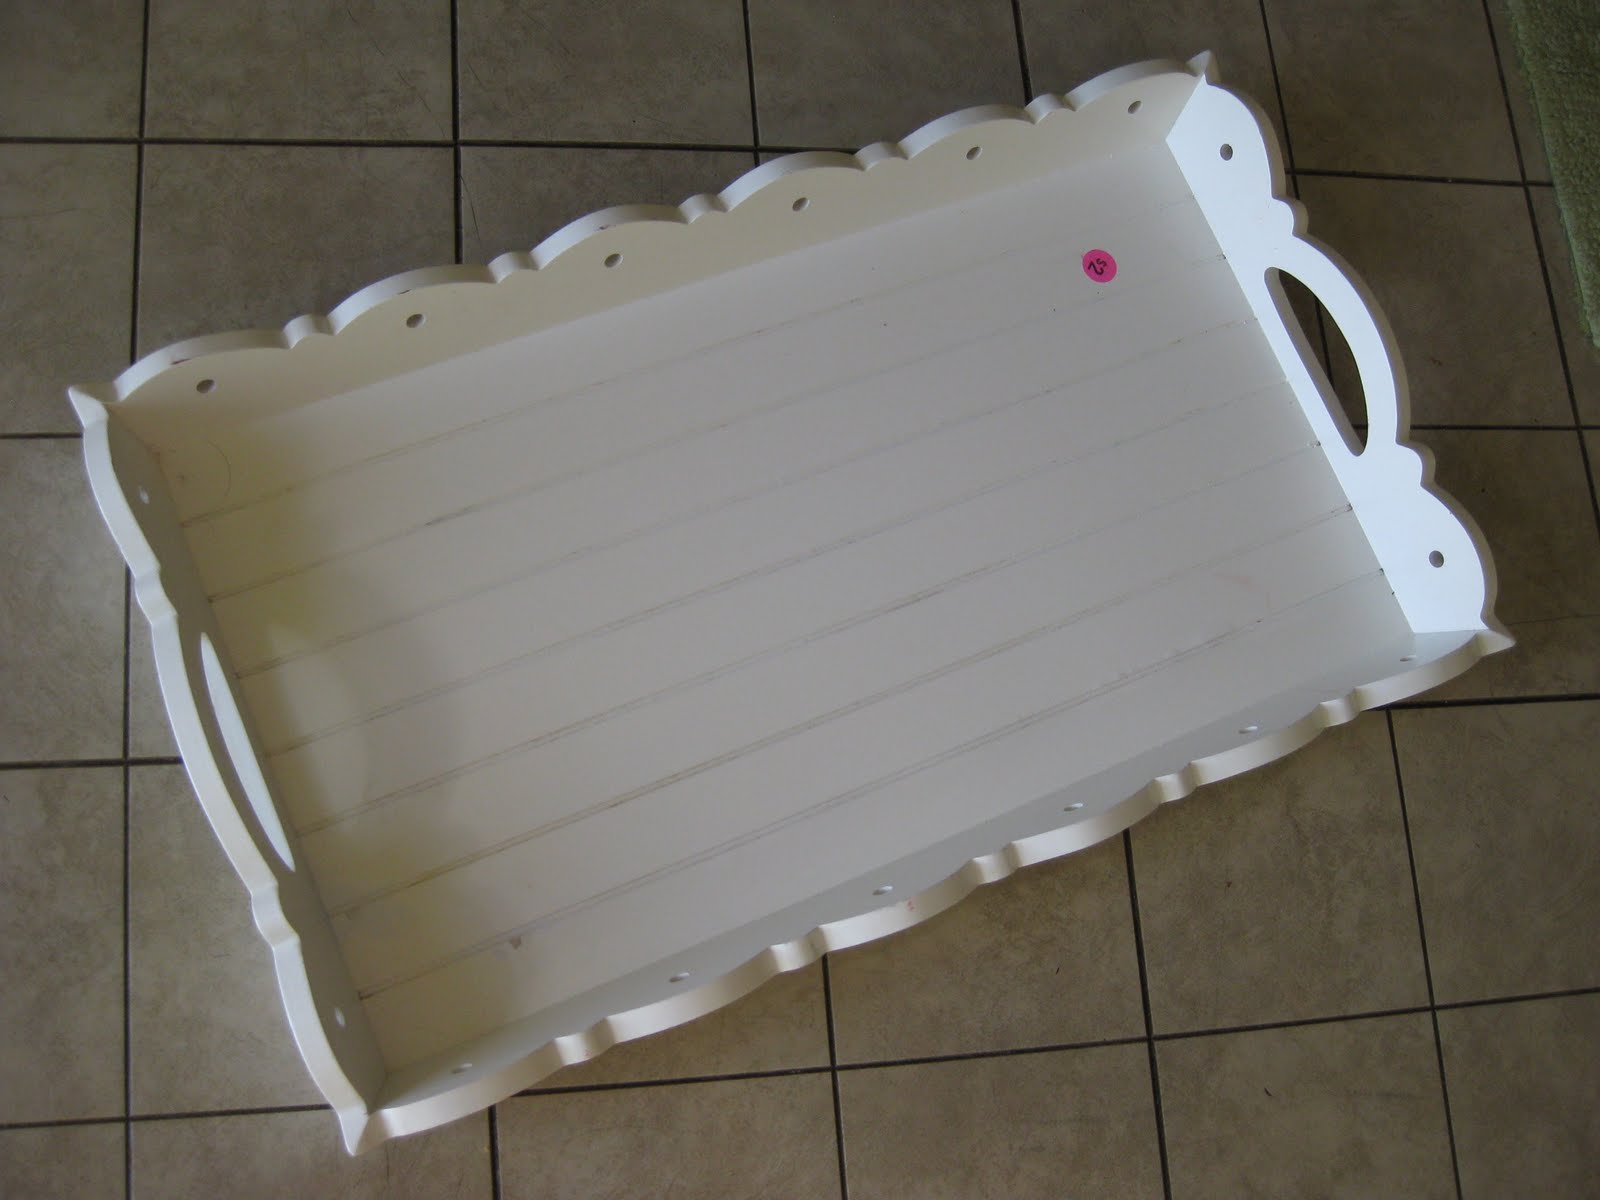
 couple weekends ago, my sister found this tray at a flea market for $2. She had brought it down to give to my mom to use in her store when I intercepted it (...like that fall-appropriate football lingo?). I was thinking I needed a cute tray for my living room coffee table because it is plain white (which I love) but a little boring. A splash of color would really liven things up for the little table. I never imagined I would have such a cute tray!


It was white and a little dinged up when I got it home, but I just gave it a good scrub and took it out in the backyard for a fresh coat of paint. Green was the color of choice this time. I even came up with a creative use for the outdoor furniture T.J. made.


Goodness the living room has come a long way in just a couple months. Check out this picture of it from the end of August, right after I had finished painting the coffee table white.

Wednesday, November 2, 2011

Button Wreath!


This button wreath is the first of many Christmas crafts I will share with you this holiday season, and I thought it was an appropriate start to the month of November, the first time it is almost acceptable to start hitting the Christmas craft making really hard. I made this wreath to hang in my mother's store as an inspiration for her students, but made it in my bright green so it will go nicely in my house come December. This project was super easy and fun. Here's how I did it:

One of my favorite blogs to read, Young House Love, recently issued a Pinterest Challenge asking readers to stop just pinning, and start crafting (see what other bloggers did for the challenge here and here). My inspiration for this project comes from here, found on Pinterest.com, but of course I took my own little spin on the project and added the stenciled border and made it on a canvas for light and easy hanging.

I used these tools on this project... the first is just a regular foam brush (less than a dollar) and my stenciling brushes (they have extra stiff bristles and cost around 3 dollars) - you can read more about them here.


First, I painted the whole canvas green with my foam brush. I used this gloss finish green Apple Barrel paint from Michaels - it was less than a dollar a bottle.


Next I got started with my stencil. This was definitely the most time consuming part. If stenciling isn't your thing, I think this project would also be just a cute with a plain border, which you could create using painters tape... my sister put a border on a canvas recently, you can read about it here.


The stencil I used is from Martha Stewart at Michaels and came with the medallion stencil I put on a chair last week. The pack was about $15 but I actually just borrowed it from my sister... so it was free for me! The advantages of having a crafty family are endless. :-)


The trouble with this stencil is that it has to be lined up, which requires overlapping the stencil with already painted parts. You either have to let it dry in between or blow dry it. I opted to blow dry it which really made the process a lot quicker. Just remember on a project like this - the little mistakes give it character!


Here was an attempted layout of the buttons on the wreath with a iridescent bow. Notice the button mess I was sorting through to find my white buttons. I thought the bow needed to stand out more, so when I brought the project up to my mom's house we found this one, used from a Christmas present in years past (it always pays to keep all the ribbons from Christmas - they will come in handy one day!).


 To attach the buttons I just used a simple glue gun and applied a minimal amount of glue to the back of each button. I laid all the buttons out first, then picked them up one by one to secure them.


The final product turned out pretty darn cute if I do say so myself. The project has sort of given me the Christmas craft bug though... I can't wait to make more fun holiday inspired decorations!


Related Posts Plugin for WordPress, Blogger...