Showing posts with label white. Show all posts

Sunday, October 27, 2013

Laundry Room Remodel


I found myself with a little free time this weekend and decided to make it count. I have been wanting to add storage to our laundry room for over two years (I even wrote this post about it back in 2011). I had been holding out for an amazing deal on an upper cabinet, and this spring I finally found one at our Restore for about $25. But... it sat in the garage all summer. My husband actually set this project in motion complaining about the current laundry room situation on Friday.

So this weekend we brought in my cabinet and I got painting. I had an inspiration photo to work from out of Better Homes and Gardens magazine, so T.J. and I were on the same page. He had some carpentry to do, and I had painting to do! I even went to Menard's and found the shelving we needed myself.

This project was truly on a dime. I found shelving in the bargain bin because the ends were broken (but we didn't need the whole length anyway!) for $1.69. We also reused whatever we could.

The grant total was only $36 excluding paint we already had. Now that is a big bang for our buck! See the bottom of this post for a picture of what we were (shamefully) working with before.

Here is my Restore cabinet. It was already cream so it only took a couple coats of white applied evenly with a small foam roller to fix it up.


My broken bargain board that saved us at least $15!

 We simply set the cabinet on the existing shelf after I slapped a fresh coat of white on it (it was highlighter orange before!). The bracket makes the whole operation sturdy.


Next, T.J. added the upper shelves. He made two "braces" out of primed 1x2s for each one and attached them to the wall (into the studs) and the side of the cabinet.


Finally, I reattached the cabinet doors, touched up the ends of the brackets with white paint, and T.J. added extra 1x2 to the fronts of each upper shelf to make a finished edge.


My inspiration photo that has been pinned up for a year in the laundry room!


I wouldn't call this room completely finished... I'm still thinking about replacing the awful florescent light with something prettier, and maybe even stenciling the wall behind the shelves like my inspiration photo. But heck, it is much better than it was before! Our new view when coming in from the garage:

Sunday, March 10, 2013

Fifty-Thousand Page Views Later

50,000 page views. Unbelievable!

When I noticed the blog was approaching this milestone I thought about what I might want to do to celebrate. When I started the blog I would request to go out to dinner for every small milestone. :-) I will probably be doing that for this one too, but I also thought it might be nice to reflect on the projects that have actually made a big impact around the house. We have spent nearly 2 whole years DIYing this house, and some projects have definitely been more important than others (ex: a spray painted napkin holder = low impact). So check them out below, in reverse order, the most life-changing projects on Hems and Haws to date:
See the original posts about each of these by clicking the links.

5. My Office
While this wasn't necessarily one DIY project, it came together pretty quickly after we moved in. This room features a hot pink table for a desk, light pink walls, and molding near the ceiling that serves as a shoe rack. (Latest office post)


4. Painting the Trim
The trim in this house was atrocious. I'm not sure what it is about wood trim that I dislike so much, but everything just feels fresh and clean with white trim. There are houses where wood trim looks nice, but this was not one of them. There are still 2 rooms in the house with wood trim, but I am hoping to tackle those this summer. It is not a quick and easy job to paint trim, but it is worth it!  (Tutorial here)


3. The Bar
The bar is the most functional project we have done. T.J. was a huge help, and we completed the project in just about one weekend. We use the bar every single day and it has really upped the quality of life in our house by providing another surface to work/eat/hang out at. (Bar posts one and two).


2. Five Chandelier Projects
What makes these projects the runners-up is that they make me smile every day. All of these chandeliers cost me $30 or less - one of them I got for as little as $4 at a flea market in Lansing, MI. (Posts: White Kitchen Chandelier, ORB Hall Chandelier & Bedroom Chandelier, Pink Office Chandelier, Pink Closet Chandelier)


1. Painting the Kitchen Cabinets White
We spend a ton of time in the kitchen and as they say - kitchen renovations = big bang for your buck. Here I am not talking literal bucks, although I do hope the improvements we have made in the kitchen will pay off. The whole kitchen feels lighter and brighter with the white cabinets and they are a more recent change (1 year ago). The combination of white cabinets with white trim and white doors just makes everything feel updated, clean, and new. If you are considering this project, do it! Read about my experience here.

Monday, November 12, 2012

Easy Sunday Project

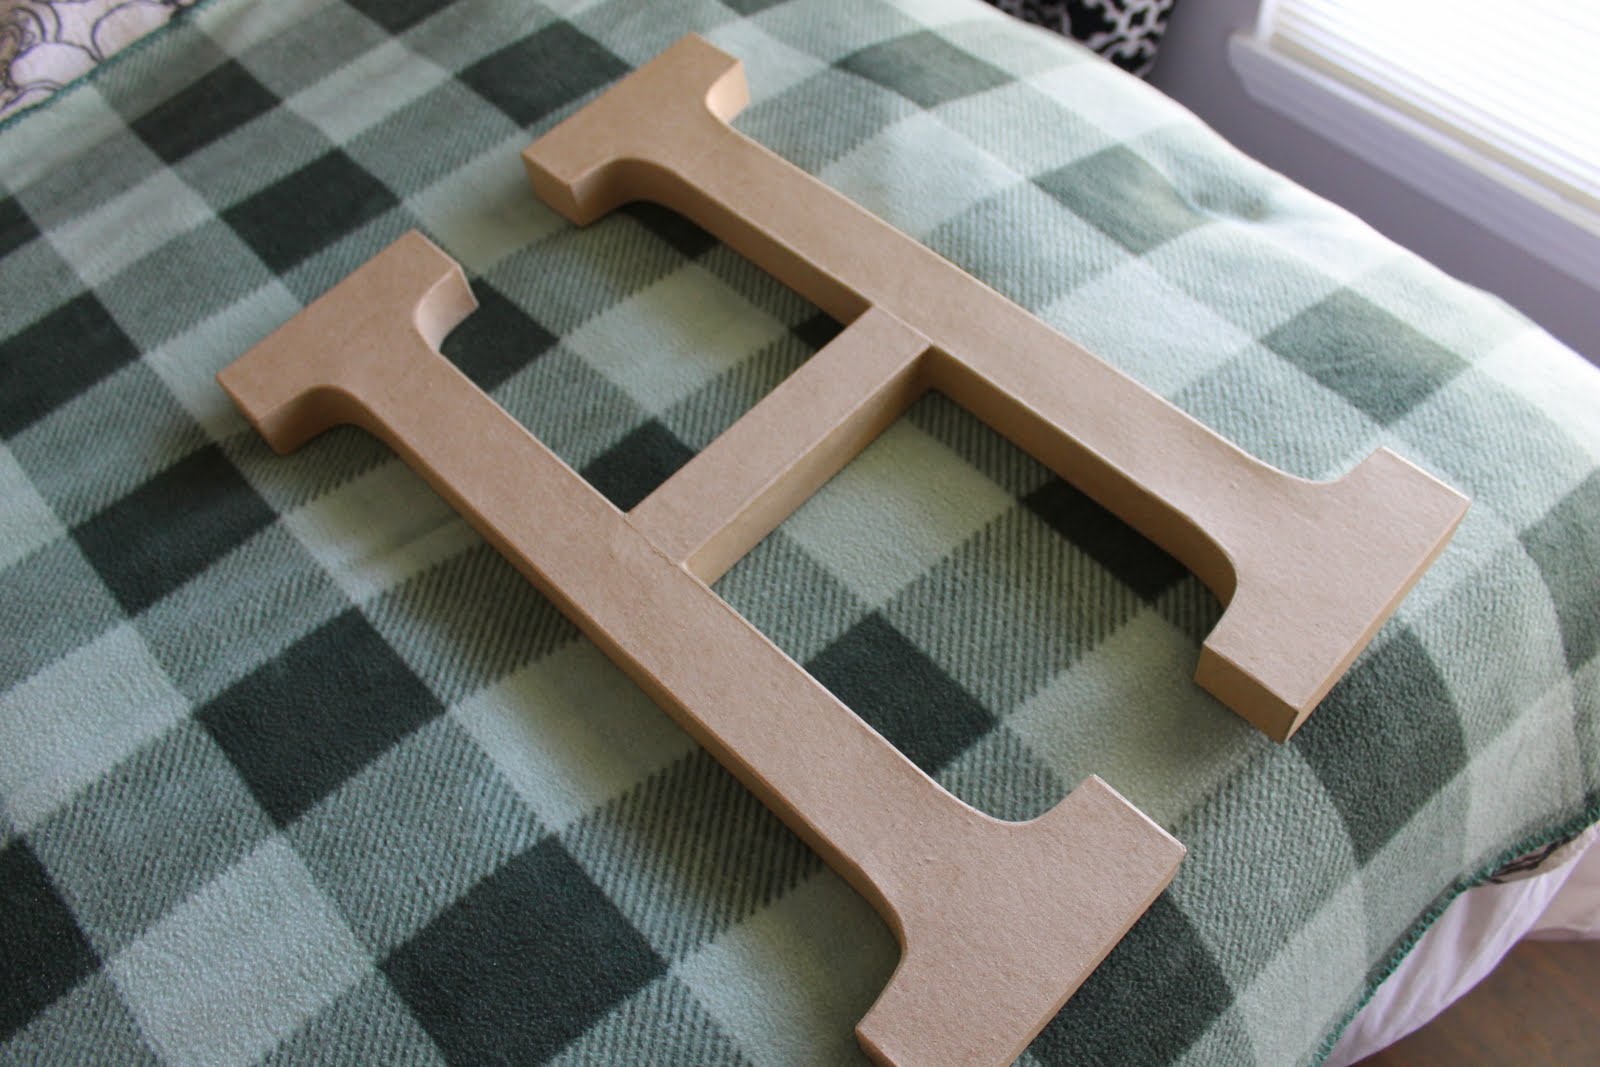
Today I whipped up some interesting and unconventional art for the bathroom. 


I found this giant H at Joann's for 10-11 dollars - but I used my 60% off coupon and got it for about $5. I used spray paint I had on hand. I was originally thinking a nice grey for the H, but T.J. suggested white. And I thought... why not. So we did. And I like how it turned out! Very unexpected in my color filled house. Good thing the shower curtain is bright and cheerful (fabric from my Mood trip this summer)!


I have been hard at work on this bathroom but it has been a slow process. I hope to have some sort of final reveal during Christmas break. As a sneak peek though - here is the light fixture I did. I got it for about $10 at the Restore - it was ugly gold. The mirror was $15 at Goodwill in MI.


Monday, October 10, 2011

Painting Trim: Slow but worth it

This weekend started with some very ambitious goals. Unfortunately I did not realize quite how ambitious they were. I was hoping to finally get to painting the foyer. The foyer has finally been getting some much needed attention - last week we hung a new chandelier in there. Painting the foyer would involve painting the trim and doors white, and the walls Pepper Berry (a nice red pink that matches the color in my couch pillow/hotel chair fabric). Well, it is Sunday morning as I am writing this and one part of that is done. I guess I can have high hopes for the rest of the day, but I also know I have heaps of articles to read/papers to write etc.Check out this before shot of the foyer a.k.a. how it looked on Thursday.


As it turns out, painting trim is time consuming. Seems obvious right? Well, I painted the trim in the our living room white right when we moved in but was hesitant to commit to painting it in every room in the house. So I stopped at the door jams in our hallway. If you look at a door jam there is not really a clear place to stop painting it white to keep the inside of the room all wood. If I painted the door jam both sides would end up white making the inside of each room look weird - with a white door jam but wood trim everywhere else.

Anyway, even without painting the door jams it did take awhile. You know how after a bit of time goes by you forget exactly how long/boring/exhausting a process can be? That must have happened. I did 3 coats on the trim in the living room and it looks pretty nice. So I set out to do the same in the foyer. I used Behr Semi Gloss White paint that I actually picked up for free at a garage sale in both rooms so they would match (the trim from the living room and the foyer touches at 2 corners in the foyer). I developed a nifty little system to keep the paint off the floor using a paint scraper and a fancy little brush.


This brush is from Sherwin Williams and cost a mere $5. Worth every penny. It was actually recommended for trim painting on Young House Love (one of my favorite blogs). It has a short handle for easy maneuvering and an angled brush especially nice for getting in corners and cracks and getting close to the floor. The very best part of my plan though is to paint the trim before painting the walls - this way it does not matter if I get white paint above the trim. I only have to worry about keeping the floor clean. I have not been patient enough to paint the rest of the house's trim (which I plan to do eventually) before painting the walls though, so I am sure lots of painters tape to block of the walls will be needed in the future.

Trim After 1 Coat
 There is actually not much trim along the floor in the foyer so that part went pretty fast. Where I hit a snag was the door jams. I guess I should back up here. First I had to remove all the doors and take off the hardware. This was a pretty simple process. I pulled the pin, unscrewed the hinge and set the doors in the garage to deal with later.


Once your hardware is removed check to see if your trim has any obvious holes or dings. Mine had some pretty serious staple holes. As you can see in the picture below, I realized this after I started painting. I just whipped out my handy wood putty and filled them in. (Note: You are supposed to let wood putty set 24 hours before painting over it - I did not and nothing catastrophic has happened yet). 


Back to the door jam painting - door jams are funny little things, they are like 4 sets of trim in one place. Trim on either side plus some extra cracks and corners thrown in between. Basically, it took me 4 times as long than just painting floor trim that is the same length. After about 3 rounds I had a pretty good system developed here too. First, I took my angled brush and ran it down all the crevices inside the door jam (the wood piece the door closes against) and on the outside of the trim (against what will eventually be the painted wall). The last thing I did was brush paint on the flat surfaces - this allowed for the smoothest finish, and the least amount of touch up.

After 1 Coat

After 2 Coats


After 3 Coats


After 2 coats with the paintbrush on the door jam I rolled the final coat. I wanted a smooth final coat of paint and a roller was the only way I could get that. I used a small roller so I wouldn't be flinging paint all over the place and just did a nice thick final coat. (These big tupperware containers are the perfect width for a small roller)


One Coat
Two Coats
 Here is the run down, in case my wordy narrative above was too much to follow.

1. Gather the supplies you need: angled short handled brush, paint scraper, semi-gloss white paint, small roller (optional).
2. Remove the doors and the hardware.
3. Dust your trim (especially the little ledge on top).
4. Protect your floors and walls (best to paint the trim before you paint the walls, that way it does not matter if you get paint on the walls).
5. Wood putty any dents or dings or holes in your trim.
6. Begin to paint - do the floor trim first.
7. Paint the cracks and crevices of the door jams - make sure to get the edge that touches your painted wall and the top of the door.
8. Apply a smooth even coat to the flat surfaces on the door jam (with roller if you can).
9. Repeat steps 5-7 at least 3 times.
10. Replace hardware and doors after letting the trim dry 3 days.
11. Enjoy your beautiful crisp white trim.

I also painted the inside of the front door! It was sort of a very blah tanish off white color. Now it is crisp and clean and white. Check out the progress shots below. (I just used the same paint as I used for the trim and did 3 coats using my small roller - make sure to tape off your hardware). 

Want to see a tutorial about spray painting your door hardware? Never fear... that is coming soon. Goodbye ugly gold 90's doorknobs! 
Also coming soon: more details about painting your interior doors and a front door painting tutorial! 

Saturday, August 27, 2011

Bright White

Finally, my coffee table has fallen into line with the decorating scheme. My intention is to keep the living room to white and brown accents with all black frames, furniture, etc. being reallocated to the bedroom or my sewing room.
When I had to decide what color to paint the living room coffee table I just could not come up with any color I really thought would look good. When in doubt, go with white! I love how bright it is. It is a bright room with the sky lights and open ceiling and the bright white coffee table looks like it belongs there.


Here is her before shot:

It was always a nice oak coffee table, but since the furniture painting bug has bitten me, no plain oak anything stands a chance in my house! So I took her into the garage and sanded her down.


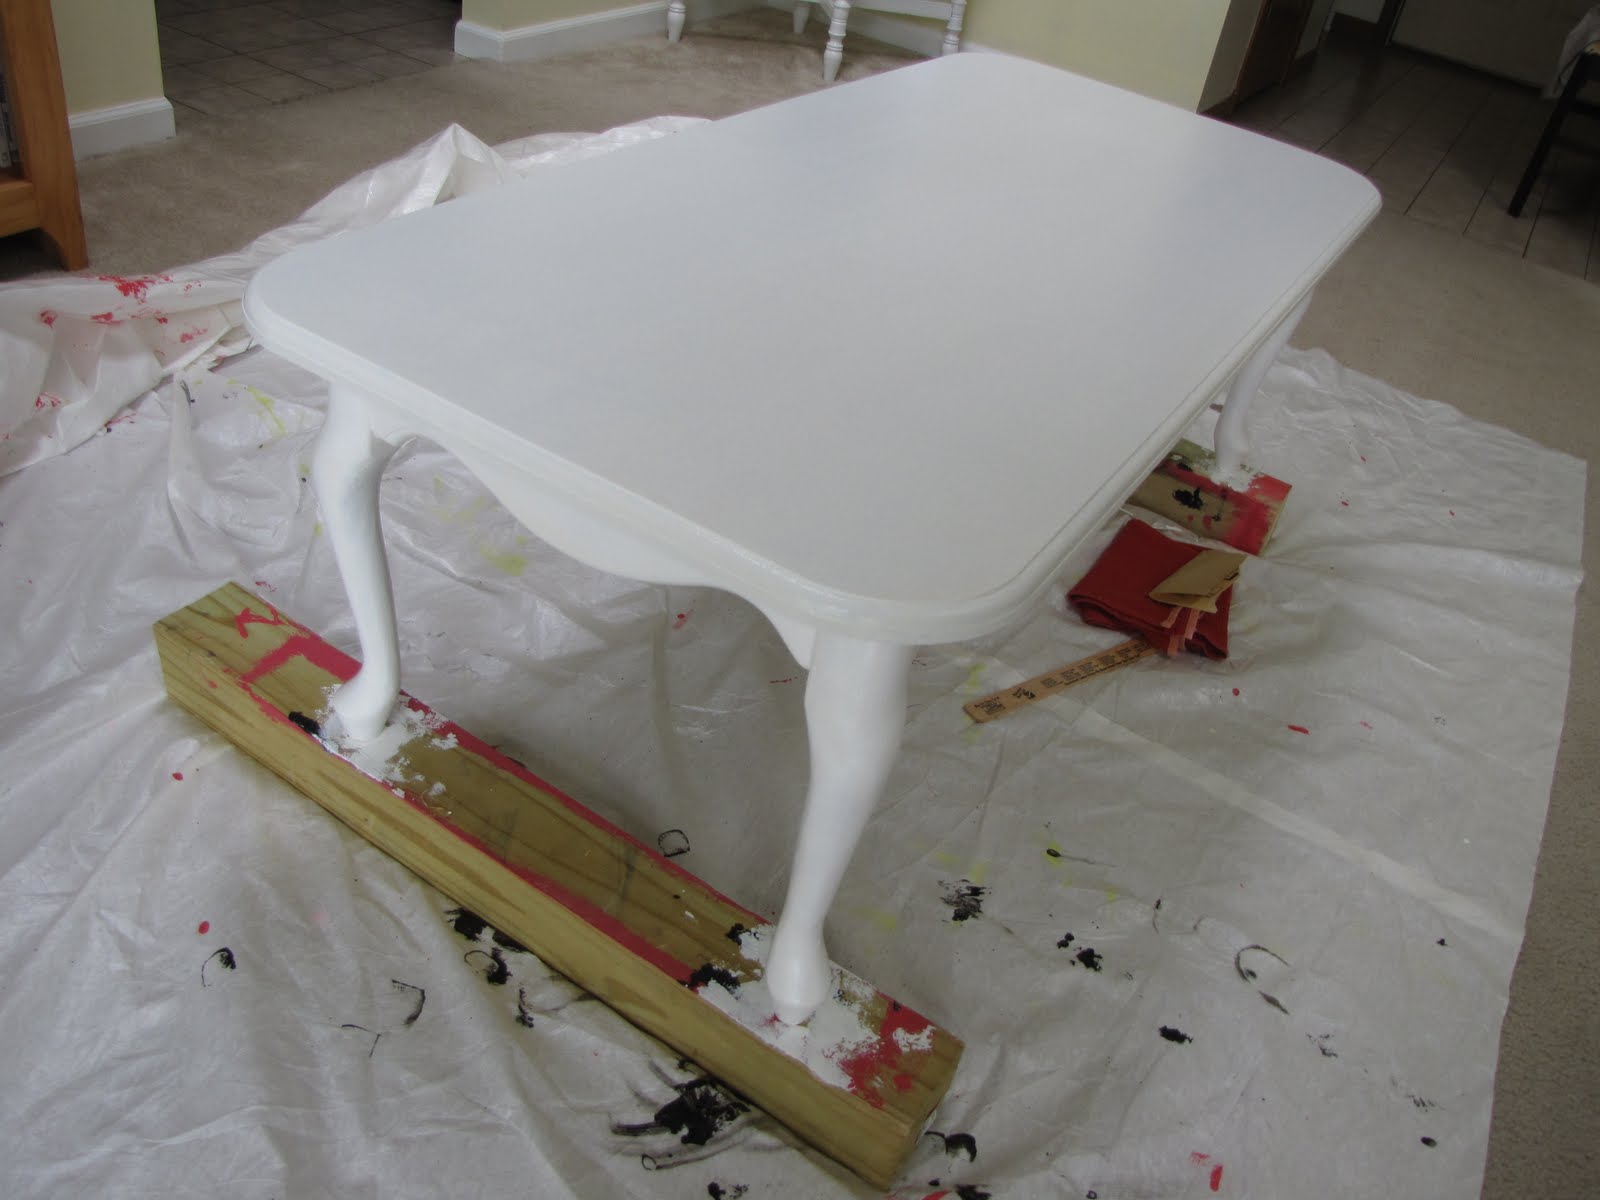
I put her up on blocks and gave her a few coats of good ol' bright white paint (photo after 3 coats). This particular bright white is from Behr and is the same white I used to paint the trim in the living room.

 I love that the legs are almost like a claw footed table but without the claws. So cute. 


The full room shot. I am still working up ideas for art above the couch... any thoughts on what would look good there?
Related Posts Plugin for WordPress, Blogger...