Showing posts with label kitchen. Show all posts

Tuesday, September 10, 2013

New Stove!

Today is a monumental day. This year for my birthday I asked my family to pitch in to a "stove fund" because I knew it would be much easier to convince my husband to buy a stove if the price tag was a little lower. It worked like a charm and now I have...


A new stove! Can you tell I am happy?? It is like walking into a whole new kitchen. Check out the before and after.


Such an upgrade!


 T.J. working on installing the cord. 


We could roast an extra large turkey in here... but of course we never will!


It looks great with the fridge too.


Check out previous kitchen evolution posts here and here. It has come a long way in just over two years!
A really big thanks to my family that helped make this happen, I will bring you cookies baked in my new oven soon!

Monday, June 3, 2013

Drum Shade!

About a month ago I set out on an Ikea trip to find a new light for my laundry room. I found the perfect light, but when I got it home, it was WAY too big. I overestimated the space in the laundry room. :-)

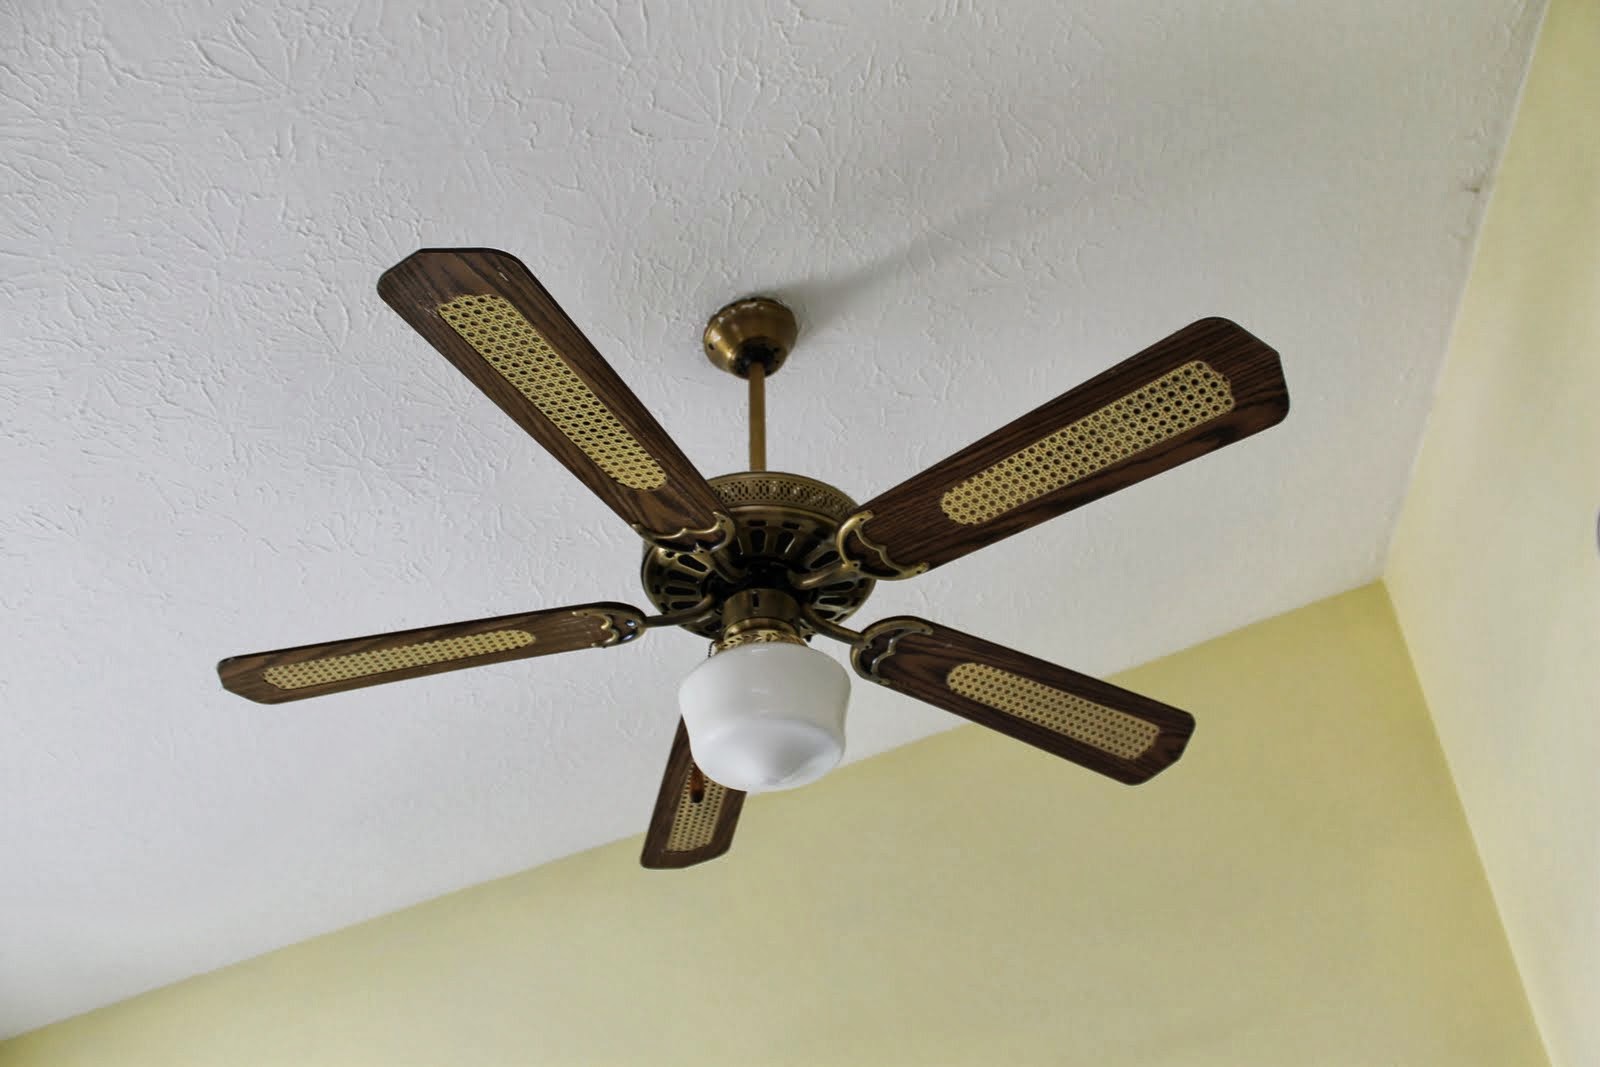
Luckily there was another great spot to put the sunny yellow drum shade: in my sunny yellow kitchen! And I would finally be rid of the hideous fan that has been plaguing my existence for nearly 2 years (check out that basket weave on the blades). T.J.'s dad came down to help install this one.

It was pretty straight forward, the only trick was the Ikea light kit has a plug on the end, so Tim had to cut that off and expose the wires for the ceiling attachment. The drum shade was around $25 and the light kit was $5. I also bought the white cap to go against the ceiling at Menard's for about $2. I am a little worried about the shade getting dusty, but at only $25 I may just replace it when we go to sell the house.

Drum shade and light kit from Ikea.

Here is what we started with. Unbelievably bad!

Tim & Sam hard at work on the fan switch.


Windowsill shot just for fun - I found the cow salt and pepper shakers recently in DC. 


Friday, January 18, 2013

The Cadillac of Dog Bowls


Today I took my grocery shopping to the other side of the river to Target. Target is the best place to buy groceries because there is a ton of other things to look at. Most efficient? No. Most inexpensive? No. But definitely the most fun.

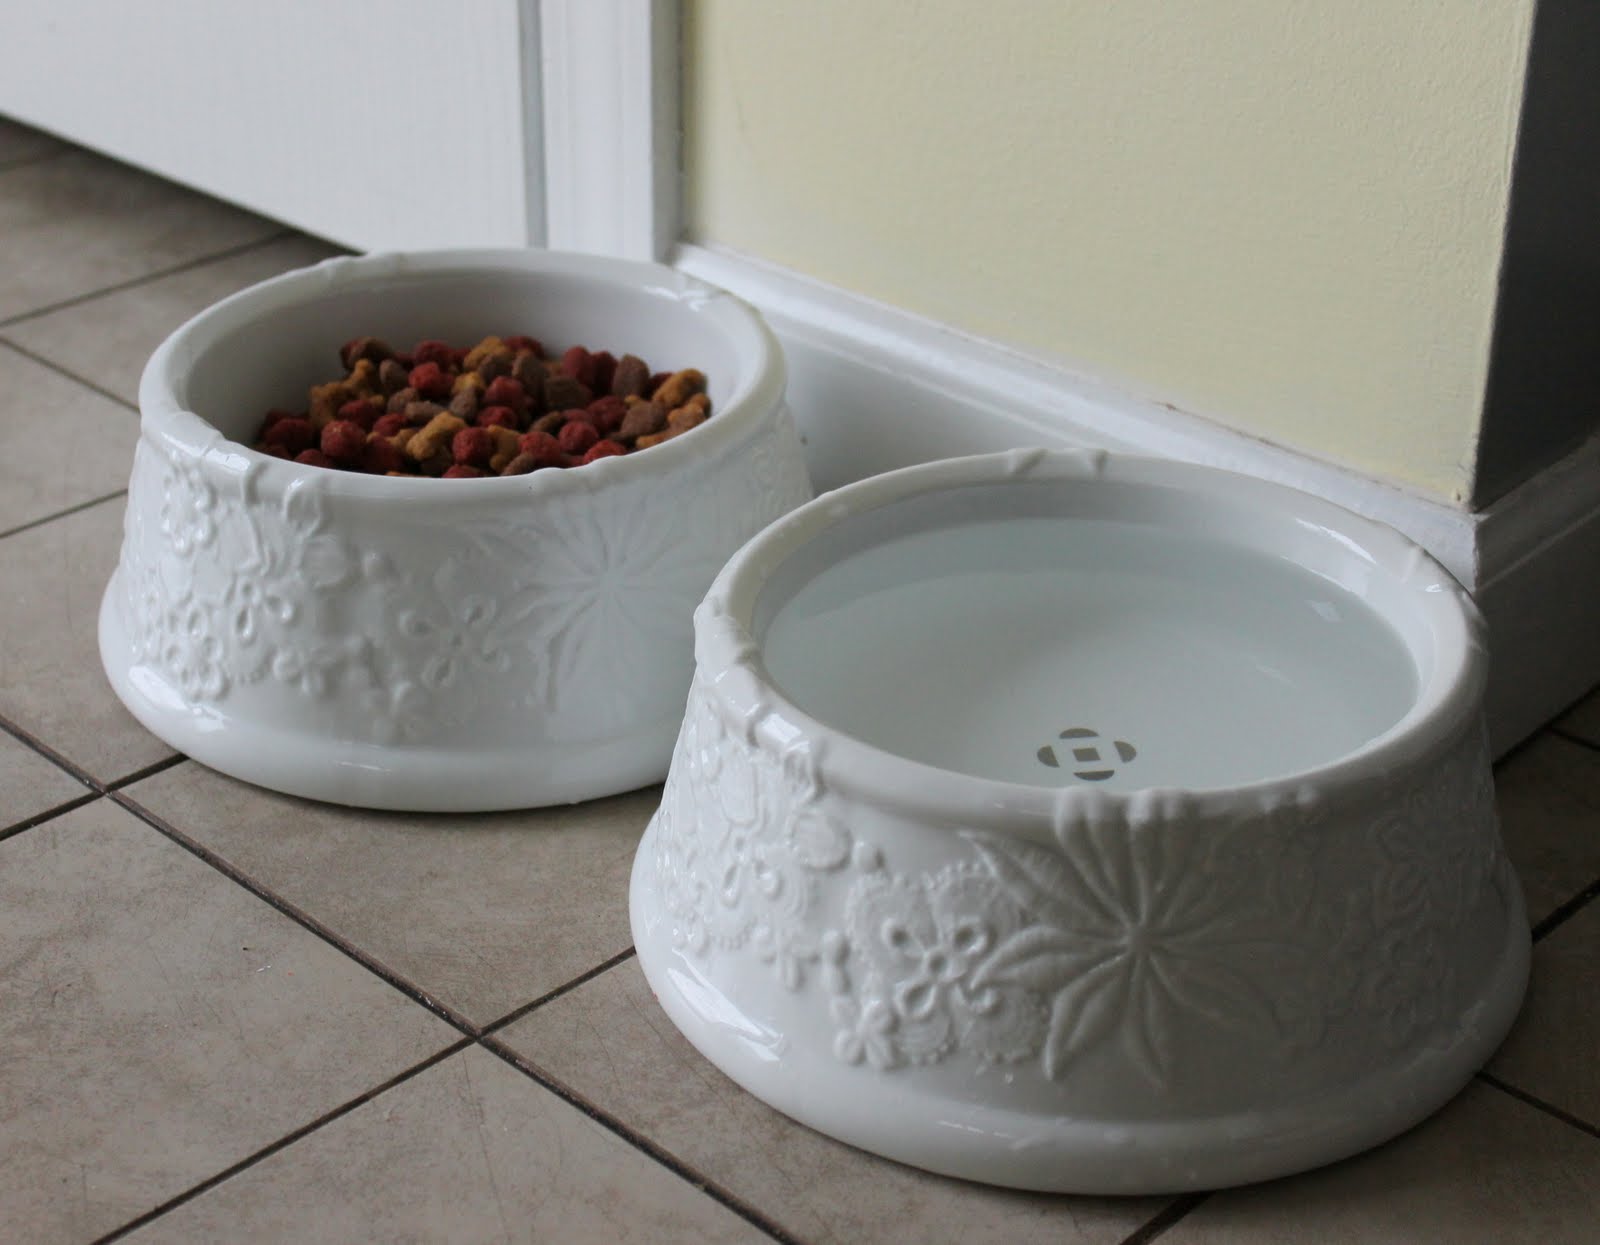
I had been curious about the Neiman Marcus at Target collection since seeing the commercials on TV. When I got there to check it out in December I was shocked. $140 for a blazer? No one at Target is going to pay that. I'm not sure if anyone ever did, but I do know that they had a ton of the items left after Christmas. The day after Christmas my mom and I went to Target to stock up on ornaments and lights for next year. That day the Neiman Marcus collection was 50% off. I thought it would be worth another look at that price. I fell in love with these Oscar de la Renta dog bowls but could not bear the $30 price tag it would cost me to buy two (originally $60!). Maybe if I needed them, but I had a perfectly good and cute set at home. But today, when the big 70% off clearance sign was above the shelf they were sitting on I could not hold out any longer.


I imagine I will have these dog bowls forever! They are gorgeous. Worth every penny of the $18 I ended up spending on them. They are even dishwasher safe. And now when I walk into my kitchen I will look down at them and know that my fancy dogs are eating and drinking from Oscar de la Renta bowls. They have such a cush life! I wonder if she thinks her food tastes better out of such a luxury dish. :-)

Wednesday, December 19, 2012

Gray Kitchen!

This week I broke down and did something I really did not think I would do... I repainted a room in my house. I always thought that once I had the house set, and had painted the walls I wanted painted, I would be content. I should have known better...


I do think it is fitting that the first room to be repainted is the room I painted first when we moved in.


So now it is gray. A big improvement I think! There was just too much green in there before. Now it feels a little older and more sophisticated.


The room has come a long way... here is a comparison with a couple weeks after move in. Since then we painted the cabinets and updated the hardware, and now we have switched out the paint color and updated all of the plugs and light switches.


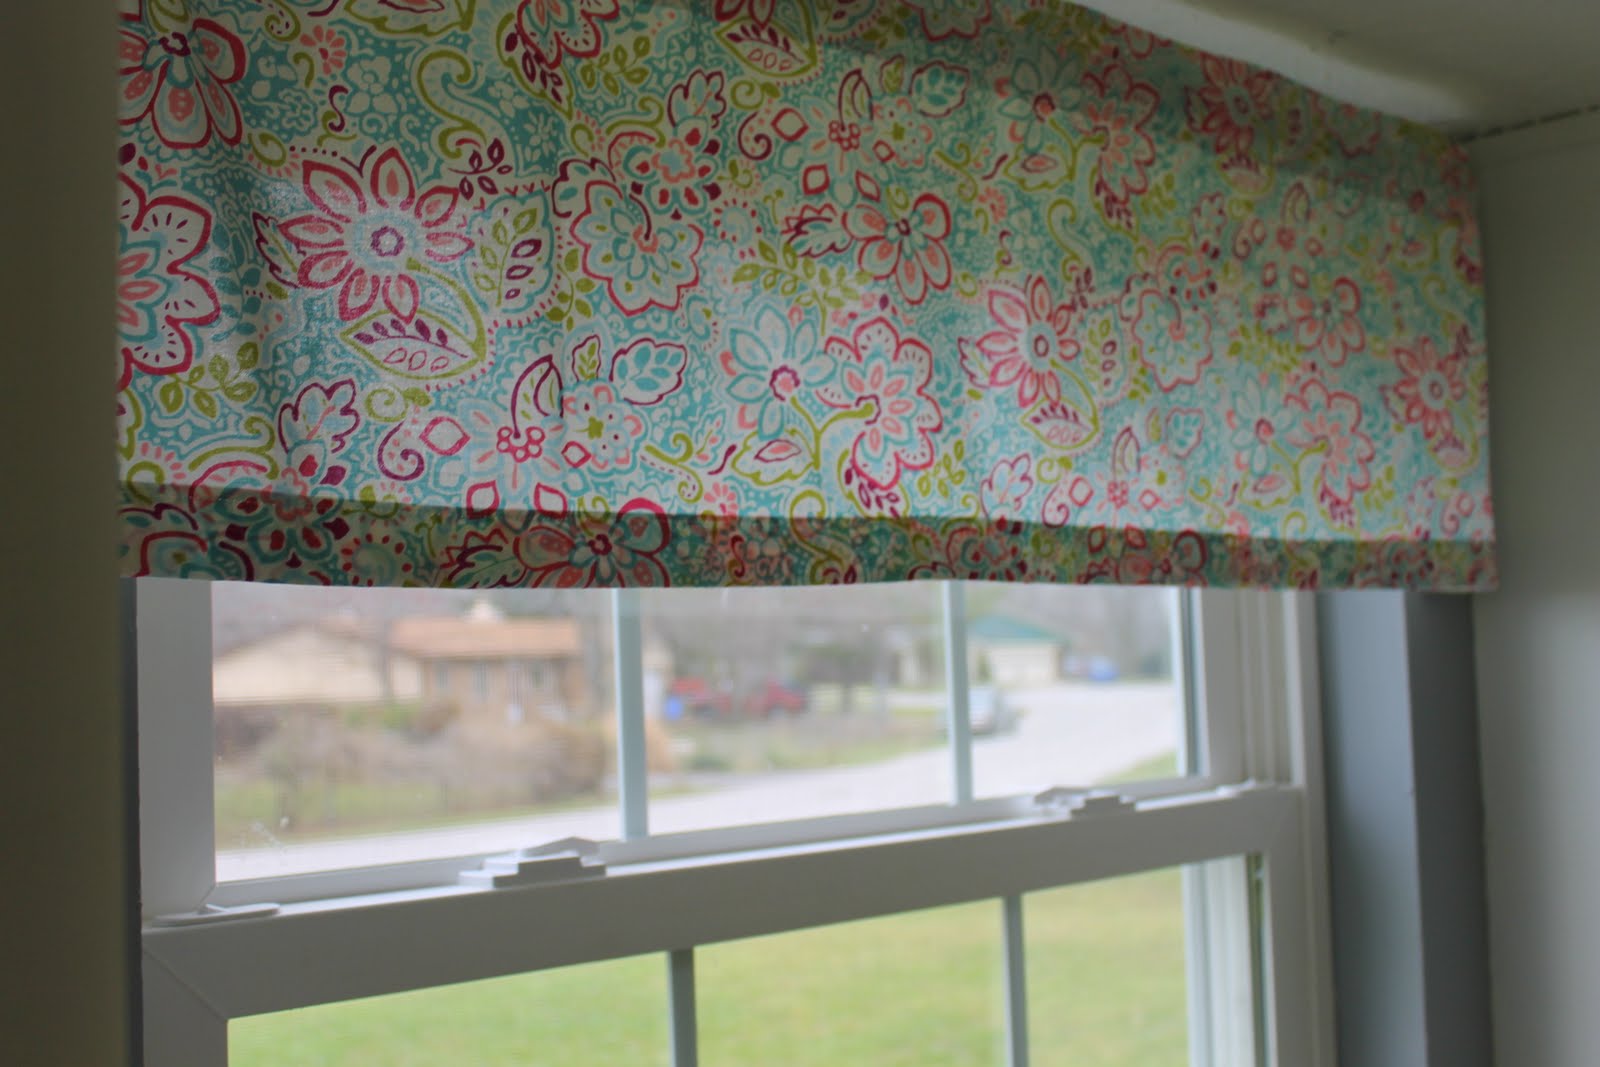
I also made a new valence. I did a tutorial for the curtain that was there before.


I think the gray really makes the white cabinets and trim look sharp. 


Today T.J. and I celebrated our Christmas a little early. I love this crackling fireplace "movie" on Netflix. It really set the mood! If you want to read about T.J.'s gifts, he is writing about them on his own blog today. Read about them here.

Saturday, June 2, 2012

Grocery Bag Holder

 
I recently whipped up this super easy grocery bag holder. I've been wanting to make one for a really long time... not sure why I waited! If I had use for them I'd make 10 more they were so fun and easy.  Bonus: I got to use this bright summer almost-chevron fabric which is in the background of my blog header (above) and I used to make a skirt earlier this spring. The pattern came from this One Yard Wonders book. If you haven't seen these books before (I think there are two) they are pretty awesome! I have so many bits of fabric leftover from projects, these books are full of ideas on how to use them. Anyway, here's the gist of it. First, cut a rectangle of fabric 20 x 22 inches. Also cut a long skinny rectangle for the loop to hang the bag holder from - about 3 x 12 inches. You will also need 18 inches of 3/4" elastic.


Next, fold the big rectangle of fabric in half (fold on the shorter edge - hamburger style) and sew up the long side. Then make casings for the elastic on the top and the bottom by folding each (now circle) edge in 1/4 inch, press, then another 1 inch. Make sure to leave an opening when you sew around the 1 inch fold to put in the elastic. Cut the elastic to about 9 inches (need two pieces, one for the top and one for the bottom) and thread it through the casing. Sew the ends of the elastic together. Close it all up and add the loop to hang it - for an easier version you could just use ribbon for the loop. Otherwise fold each long edge of the loop fabric in to the middle, then fold over once more. Sew and fold in half to create the hanging loop. Sew it to the inside of the bag holder. That's it! Fill with grocery bags and enjoy! Mine is positively jam-packed, this baby holds a lot of bags.


I'm not really sure it will live outside my pantry door, but I love how the colors brighten up the kitchen. I will probably move it inside the panty in the fall - but I will still get a glimpse of summer when I look in the door!

Wednesday, March 7, 2012

White White Kitchen

This post has been a long time coming... as most of them seem to be these days. My cabinet painting adventure started in late January, finishing up early February. I have wanted to paint my kitchen cabinets white from day one. At one point, my mom briefly had me talked into keeping them wood, then I was back to white. And I must say, white was the right choice. The kitchen is bright, full of light, and plain ol' makes me smile.


I posted updated pictures on the house tour tab but it has taken me a long time to get around to writing this post. Maybe because I knew it would be a long one. This definitely isn't a full tutorial... for a great one (complete with video) check out this post on Young House Love. It is one of the posts I looked at (and made T.J. watch) before we embarked on the long cabinet painting adventure. I figured it would take us about 4 days, then drying time but it stretched over 2 weeks due to a 2 day trip home (meant to be the drying time, but we weren't finished yet) and going back to work.


We started in the logical place - taking down the cabinet doors and removing the hardware. I wiped the cabinets down with a wet cloth first, then  T.J. deglossed them (we did this inside because it was cold - but it was very stinky. I suggest outside if you can swing it). It is unbelievable the amount of crud that builds up on cabinet doors and hinges. At least now we will be able to see the crud and clean it on the white doors. (Maybe that's not such a good thing?)


Kitchens would really be a mess without cabinet doors to hide everything. The picture below is proof.


To keep things as organized as possible I put the hinges and hardware inside each cabinet as we removed the doors - that way hinges stayed with the same doors in the end.


Next step - priming. Both our deglosser and our primer (Zinsser Fast Prime 2) claimed to be "sand free" so we skipped sanding. I guess this is a big no-no in cabinet painting but it seems to have worked out pretty well for us so far. Fingers crossed for the long haul. I started out brushing on the primer in the cracks while T.J. filled in the flatter parts with the roller.


After 1 coat of primer


Basically we just repeated the steps with the regular white paint letting each side dry overnight before flipping. We used Kitchen and Bath Semi-Gloss white paint from Menards. We ended up putting on two coats of primer and as many as five coats of white paint. It was way more than we had predicted we would use, but in the end every coat was worth the results.


After working on our knees for a few days we figured out this handy solution.


Meanwhile, we were working on painting the cabinet frames over in the kitchen. Since our doors and drawers were laid out in our living room and the kitchen was clearly a disaster, most of our house was unlivable for a short period of time. Judging by the cookie sheets in the sink though - I must have found a way to make cookies!

 
One thing we did get to do before we left on our trip up north was put in a few drawers. We left them open so they wouldn't cure closed, but at least they were in.


Oh the little successes in life. A few days later all the painting and drying work was done. Time to enjoy our kitchen. Except for one thing. I had originally planned to use the pre-existing hardware (which I transformed from ugly brass to beautiful ORB in this post earlier this fall) but when we held it back up to our shiny new white cabinets, it was bringing me down. I wanted something shiny and new to match the cabinets! I finally settled on silver handles (the same ones I picked out when I redid the bathroom cabinet awhile back). One bonus is that they are sold in builders packs, so they are cheaper. Even with a cheaper model of handle we ended up spending just about as much on hardware as we did for the cabinet deglosser/paint/primer combo (around $40 - for a total of $80 on this project not counting supplies we already owned like rollers and paintbrushes). Funny how that works. Definitely worth it though. The silver handles made a big difference. I still have plans to do something about the hinges, but for now I think the dark brown isn't too offensive.


Quickly after we put the cabinet doors back up we realized we needed to put pads on the back of each door to keep them from sticking. Even though the frame and the back of the door had been dry for at least 5 days, they were beginning to peel paint off each other. We just bought some gray felt pads to protect them for now, and may invest in a more expensive white version later on. We have had no problems since adding the pads.


Check out our shiny new juicer in this one ^
 

The one drawback to shiny new white cabinets.... the rest of the appliances/wall/countertop look a little more dull. I guess this is why people do full kitchen reno's at once. It is hard to stop. I have already finished another kitchen project since painting the cabinets... more on that soon.
Related Posts Plugin for WordPress, Blogger...