Months ago I picked up a matched set of chairs from Dicker n Deal in Lansing, MI.
They were in rough shape but most importantly they were comfortable. I sometimes sit at my office table the entire day when I have lots of grading/paper writing/article reading to do. I needed some serious back support... and these guys have it. I love that the back is very retro and almost reminds me of a bow.
Once I hauled them home in the back of my tiny
Mustang, I first wood filled the chips in the back of the chair.
 |
| Chunk missing from the back of the chair. |
Here are my weapons of choice when it comes to furniture repair. Wood filler is super easy to use. Just squirt out a blob and rub it in with your finger. Let it dry 24 hours or so, then sand it down so it is smooth with the rest of the wood. You can see me smoothing it out in the picture above.
T.J. helped me glue the squeaky pieces of the chair. Now they feel very sturdy and strong.
Next I had to deal with the seat. I removed the seat by unscrewing the screws in the bottom of the seat that was holding it to the chair. If you noticed in the very first picture, the seat cushion was looking pretty gross. Stained and old. I used a pair of needle nosed pliers and what I think might be a knife used for fishing (I don't want to know) to get all the staples out of the existing fabric so I could pull it back and see what kind of padding I was working with. I put the knife under the screw first to loosen it, then used the pliers to pull the staple out. I was hoping to selvedge the padding and just recover with new fabric because the pad was pretty comfortable. Scroll down to see what I found...
Needless to say I pitched the padding and the fabric. It had to have been at least 50 years old, and smelled like it too! Once the seat was off and taken care of, I sanded down the chairs and smoothed out my wood putty further.
My chairs were ready to be painted. Only one problem, I was feeling indecisive about the paint color. I had originally thought black, then played with the idea of painting them the same color as my
bedroom walls... a pretty gray. Then out of sheer laziness I took a look at which spray paint colors I had out in the garage. There was one can in particular that caught my attention... my metallic silver. I would have never imagined I would use it to paint a piece of furniture when I bought it but....
I decided to go with the silver metallic. I am sure this decision does not come as a surprise for any of you who know me... but honestly, I have been trying to keep the crazy on the inside a little since we moved into this house. Clearly I am not doing very well... Take a look at my
sewing room. If this isn't crazy I don't know what is. What can I say? I love pink, I love things that sparkle, and I feel I should be allowed to "let my freak flag fly" as T.J. says, in my own house. :-)
I opted to use a spray primer on them first. I don't think I would have had to, but I did not have a full can of the silver and thought it might save me a few coats. In the picture below the chair on the right has a coat of silver on it, and the chair on the left has only been primed.
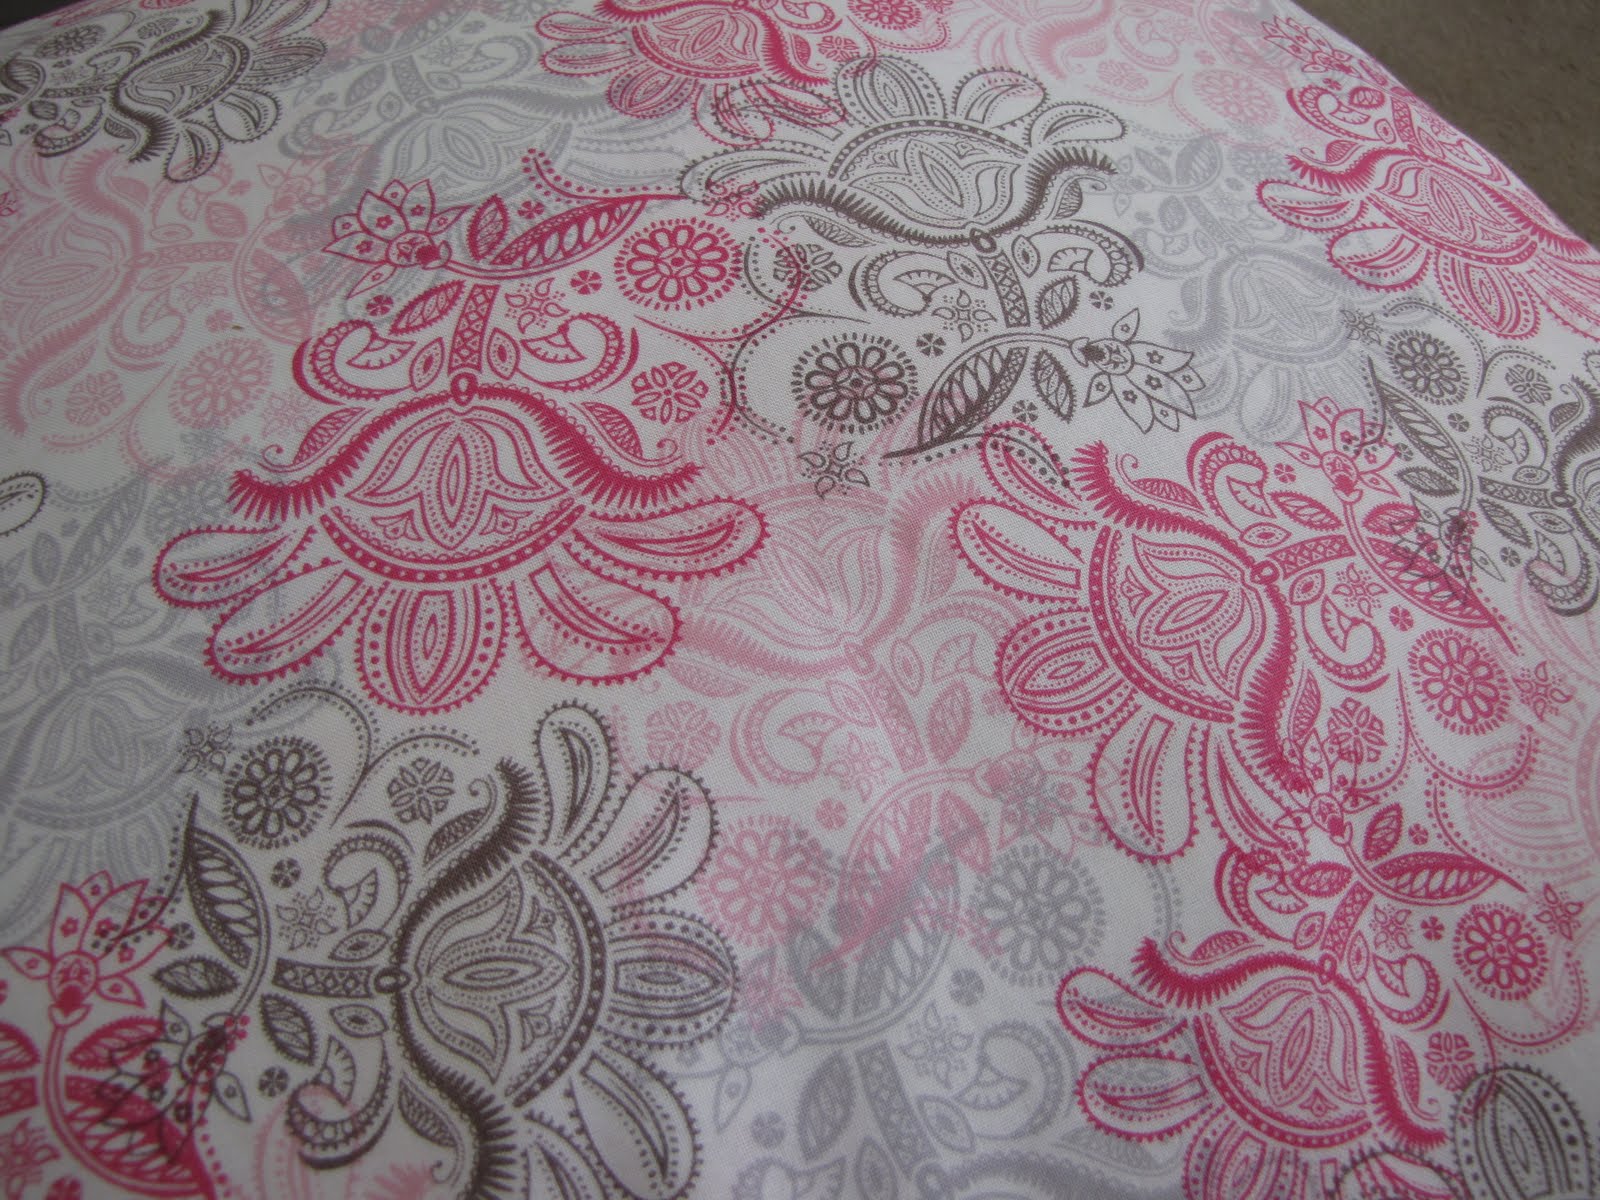
So the chairs are metallic silver. And I like them! Now I am stumped though on what fabric to use to recover the seats. I have two choices. My original plan was to use the fabric that matches my cork board frame, shown below. (See how I made it
here).
I also happened to stumble upon an old curtain of mine that used to hang in front of the closet in my sorority house room. I have been holding on to it because it is beautiful and shiny, even though I knew I could not really use it for a curtain again. Check out this old picture of it I dug up. :-)
A few notes here: The curtain is not wrinkly like that anymore - it must have been straight out of the package! Also, this adds to my crazy argument before... my current sewing room is not the first time I have "pinked out" a room. Nor is it the second. In fact, my bedroom at home has bright pink walls, as you can see in the picture above my sorority house room was painted bright pink (the same can of pink paint I believe) complete with pink (of course) hand painted flowers by my oh-so-talented
mother, and glittered by me. And don't forget the pink bedding. Crazy? I think so.
So I need help deciding. Flowers or stripes?
What do you all think? Any opinions out there?

 Today I made the easiest piece of clothing I have ever made. And I love it! Last night, while I was procrastinating I came across this blog post on comeonilene.com about these easy to make circle scarves.