Showing posts with label spray paint. Show all posts

Thursday, May 14, 2015

We're moving...

Moving day is closing in on us and I am realizing just how excited I am to take up thrifting, building, and DIYing again for a new house. I spent a lot of time on this blog the first few years I lived in our current house and when the projects I had envisioned from the start were complete, the time spent DIYing and writing the blog was quickly replaced with more "serious" work endeavors. But summer is here and we are moving to Utah! I'm not sure how much I will post about the new house but I can hardly stand not showing off some before and afters of the projects I've been working on lately... and we haven't even moved yet.

We are still under contract but I will post pictures of the new house as soon as it's officially ours. The house is a 1964 ranch and we have taken to the idea that we want to find some cool mid century modern pieces.

First up, I found these industrial bar stools that were in rough shape at an antique/thrift shop for $10 a piece.


I thought the chairs might have a wiggle problem due to all the tape on the legs. When we took the tape off we discovered that the legs extended another couple feet and were very stable. NO idea why the tape was on there...


We sanded the bar stools down and I used about 3 cans of white Rustoleum spray paint on them. The wood on the seats was soaking up spray paint like mad so I used some regular white paint on the seats and finished them off with Minwax poly for protection. 


Oh by the way.. Utah is beautiful. This is Bear Lake, about 45 minutes from the new house!

Sunday, March 10, 2013

Fifty-Thousand Page Views Later

50,000 page views. Unbelievable!

When I noticed the blog was approaching this milestone I thought about what I might want to do to celebrate. When I started the blog I would request to go out to dinner for every small milestone. :-) I will probably be doing that for this one too, but I also thought it might be nice to reflect on the projects that have actually made a big impact around the house. We have spent nearly 2 whole years DIYing this house, and some projects have definitely been more important than others (ex: a spray painted napkin holder = low impact). So check them out below, in reverse order, the most life-changing projects on Hems and Haws to date:
See the original posts about each of these by clicking the links.

5. My Office
While this wasn't necessarily one DIY project, it came together pretty quickly after we moved in. This room features a hot pink table for a desk, light pink walls, and molding near the ceiling that serves as a shoe rack. (Latest office post)


4. Painting the Trim
The trim in this house was atrocious. I'm not sure what it is about wood trim that I dislike so much, but everything just feels fresh and clean with white trim. There are houses where wood trim looks nice, but this was not one of them. There are still 2 rooms in the house with wood trim, but I am hoping to tackle those this summer. It is not a quick and easy job to paint trim, but it is worth it!  (Tutorial here)


3. The Bar
The bar is the most functional project we have done. T.J. was a huge help, and we completed the project in just about one weekend. We use the bar every single day and it has really upped the quality of life in our house by providing another surface to work/eat/hang out at. (Bar posts one and two).


2. Five Chandelier Projects
What makes these projects the runners-up is that they make me smile every day. All of these chandeliers cost me $30 or less - one of them I got for as little as $4 at a flea market in Lansing, MI. (Posts: White Kitchen Chandelier, ORB Hall Chandelier & Bedroom Chandelier, Pink Office Chandelier, Pink Closet Chandelier)


1. Painting the Kitchen Cabinets White
We spend a ton of time in the kitchen and as they say - kitchen renovations = big bang for your buck. Here I am not talking literal bucks, although I do hope the improvements we have made in the kitchen will pay off. The whole kitchen feels lighter and brighter with the white cabinets and they are a more recent change (1 year ago). The combination of white cabinets with white trim and white doors just makes everything feel updated, clean, and new. If you are considering this project, do it! Read about my experience here.

Monday, January 21, 2013

Nesting Tables

I purchased a set of 3 nesting tables at my Goodwill about a year ago. They have alternatively been sitting in the garage or being used for impromptu tables in the mancave ever since. When I put out the Christmas decorations this year I had to move some things around, so the littlest one got pulled out and used as a plant stand. I loved how it looked! The tables are cute and have really nice lines. I especially love that the smallest one is square (the larger ones that fit on top of it are rectangle). I paid less than $10 for the set of 3.


The table was originally a dark wood color, which I liked, but didn't fit in very well in the light and airy white living room. Now that it is white I like it even better. I was able to spray paint during the winter - which is a rarity and a real treat - a couple weekends ago when it was unseasonably warm. I also worked in an outdoor run with my man (read about it here on his running blog).


The wavy edges on top compliment the wavy bottom of the hutch. 


The fate of the other 2 is unknown, but when I bought them I imagined they would be really cute painted three different bright colors. When time and space allow, we will see!

Monday, November 12, 2012

Easy Sunday Project

Today I whipped up some interesting and unconventional art for the bathroom. 


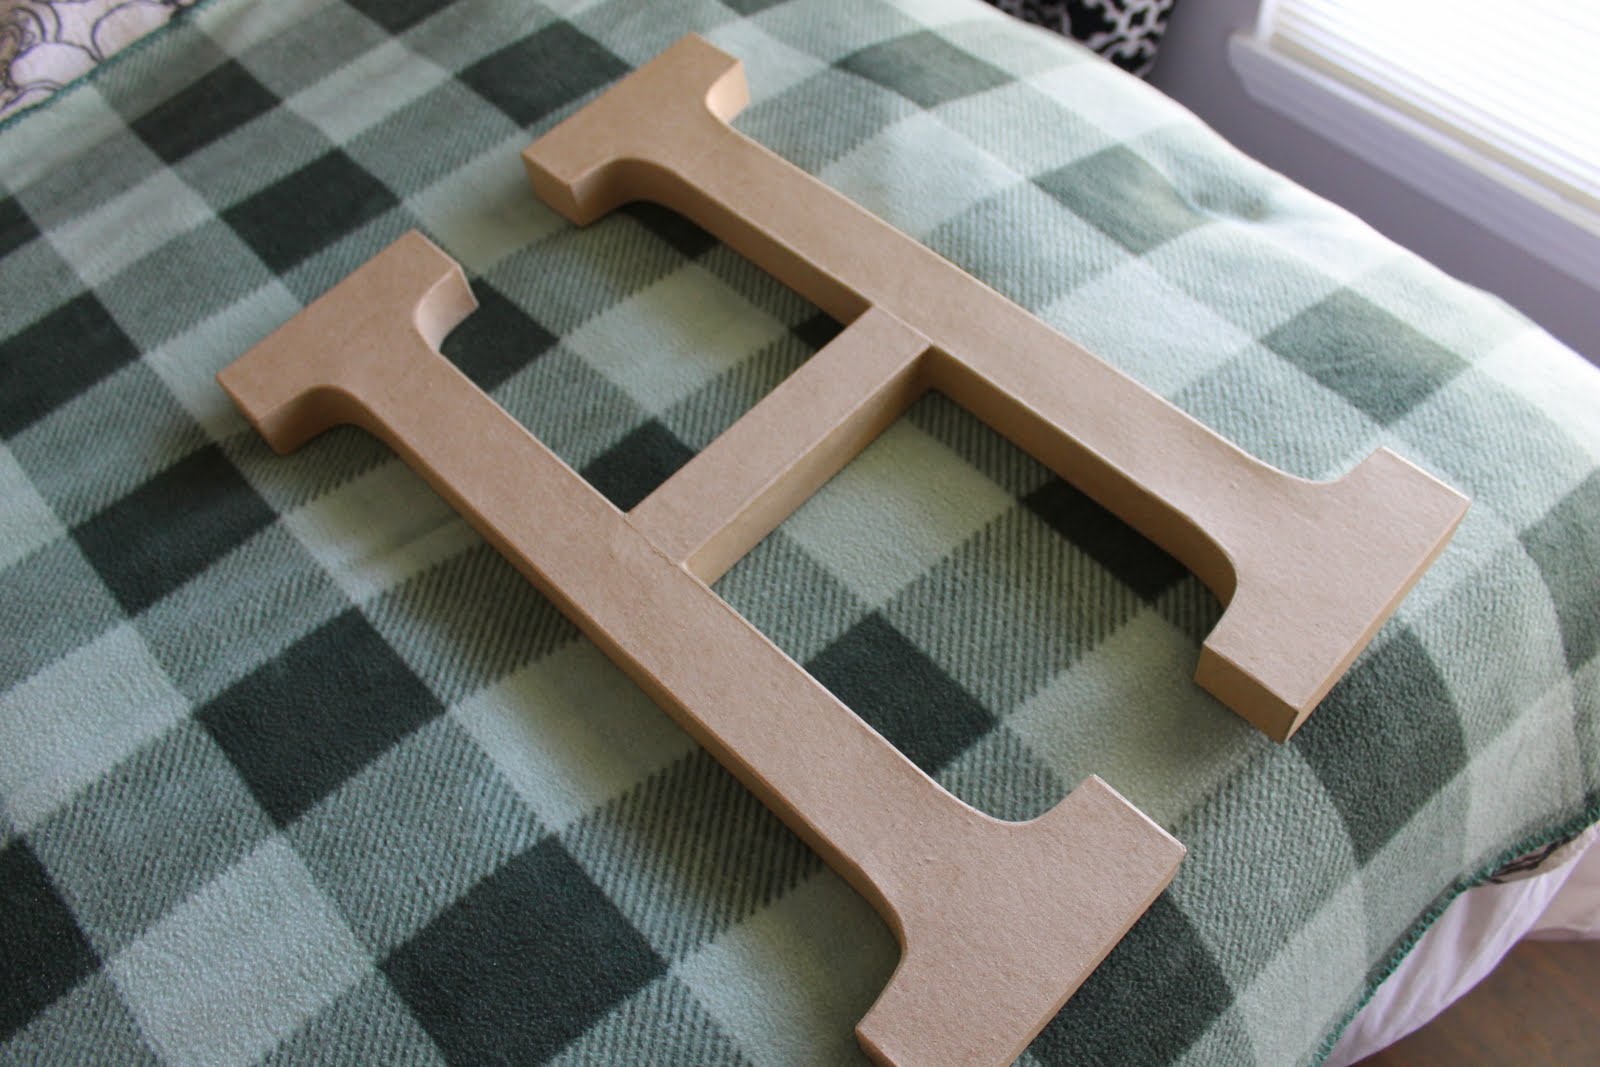
I found this giant H at Joann's for 10-11 dollars - but I used my 60% off coupon and got it for about $5. I used spray paint I had on hand. I was originally thinking a nice grey for the H, but T.J. suggested white. And I thought... why not. So we did. And I like how it turned out! Very unexpected in my color filled house. Good thing the shower curtain is bright and cheerful (fabric from my Mood trip this summer)!


I have been hard at work on this bathroom but it has been a slow process. I hope to have some sort of final reveal during Christmas break. As a sneak peek though - here is the light fixture I did. I got it for about $10 at the Restore - it was ugly gold. The mirror was $15 at Goodwill in MI.


Friday, June 15, 2012

Corner Garden

For Valentine's Day this year I got T.J. an indoor starter greenhouse, which he ignored for weeks and weeks until I finally got it out and did it myself (think I might still be a little bitter about this?). Anyway, I was pretty proud of how well I kept all the plants alive - except for sage and dill for some reason - I even posted about the greenhouse here if you want to check it out. After feeling inspired by my sister's garden over Memorial Day Weekend (see her garden last year here) I begged T.J. to help me create a garden space in our backyard. TJ's dad suggested the corner, and so it was settled. We got to work.


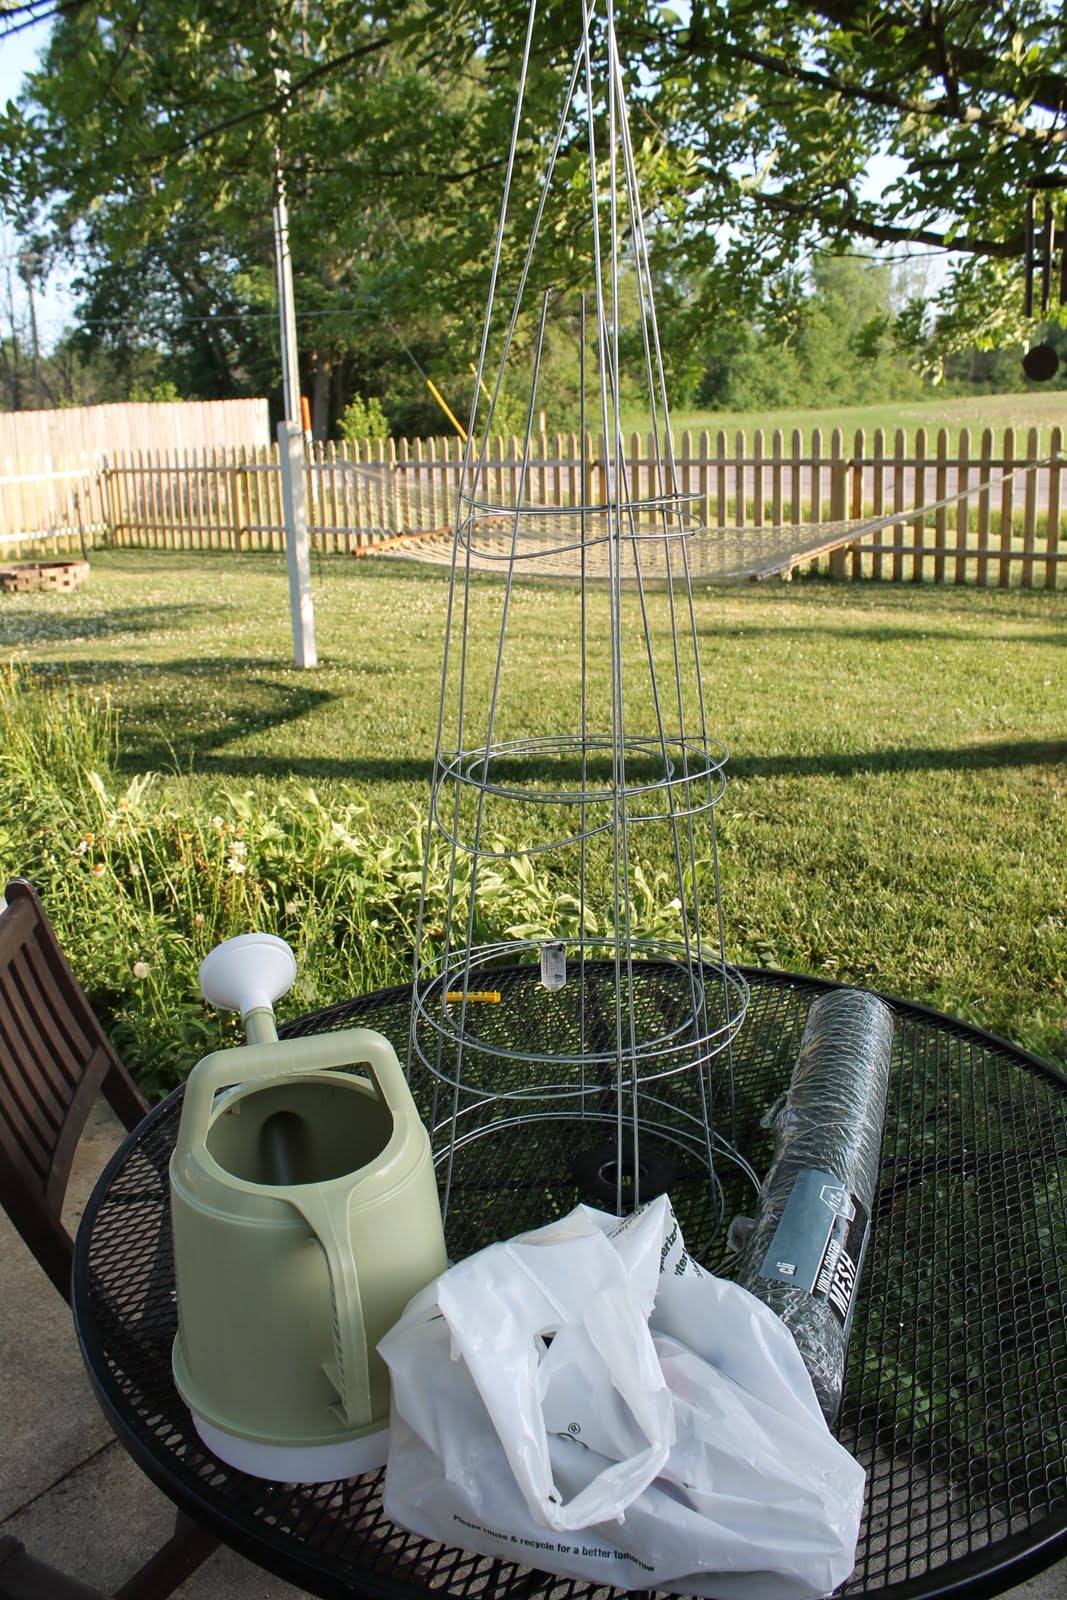
We ran over to Menards to buy all the usual gardening supplies that we (being amateur gardeners) didn't already own. Tomato cages, watering can, rabbit fence, tiny shovel, all the good stuff.


I picked out the spot and TJ got digging. 


After a couple hours the dirt was ready and I plopped in (possibly too violently) my starter plants.


Mr. Gnome keeps a watchful eye out for those darn rabbits. 

Then it was time to spruce up those tomato cages with one of my favorite color combos - lime, yellow, and pink.


After the plants were all in the ground, T.J. finished putting the rabbit fence across the front.


And there you have the corner garden. Do you think it will produce any veggies? 
I am not so convinced myself. Only time will tell.

Wednesday, June 13, 2012

Sunny Flower Pot Holder

I picked up this flower pot holder last summer at Alice's thrift store in Lansing, MI for something like 3 dollars. The legs swing so they can spread out and become compact again, and I remember my sister got her finger pinched when she was carrying it for me. Your pain has finally paid off Kate - the plant holder is finally super cute, and yellow!


It did not start off so cute and yellow though. It was actually a pretty vintagey blue green before, but it blended in way too much with the gray cement and green (overgrown, weedy mess) grass behind it. See below what I mean. None of the curlicues or details showed up.


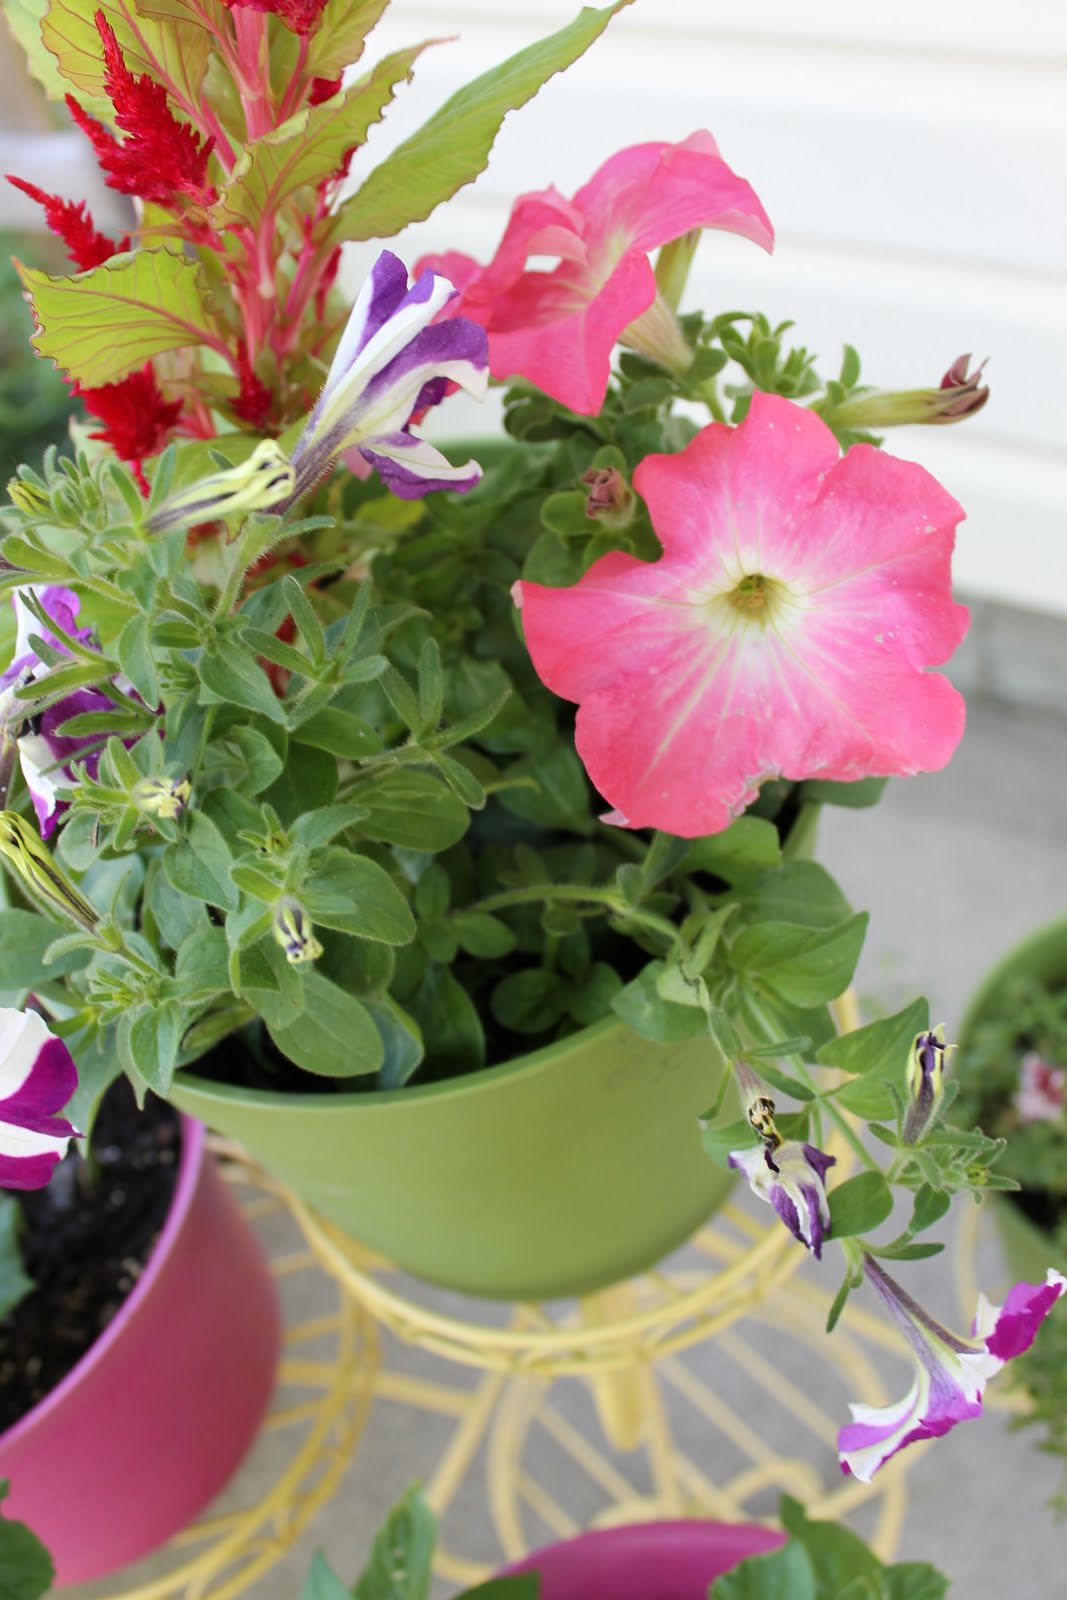
After I picked the pink and green pots and filled them with flowers and veggies it hit me that the metal plant holder needed to pop too. I decided on yellow and went with my trusty Rustoleum Warm Yellow semi-gloss which I also used on my mailbox, magazine holder, and napkin holder. (I have a lot of "holders" in my house - I wonder what these things are actually called).


I think the whole set-up adds a nice pop of color to my patio. I think I might finally be understanding why people care so much about flowers. :-) I really do enjoy getting up every morning to check on & water them.

Monday, June 4, 2012

New Heights

The lamp on my husband's side of the bed has always given me trouble. I recently bought curtains for our master bedroom which required me to rearrange some art on his side of the bed and long story short, I needed to do something about the lamp. It was too tall for the space and the base was too big for the shade. I absolutely love the shade though. Here is the previous lamp situation: too tall, crooked shade - it did not fit right - always falling to one side!


So I went searching my house for a shorter base that could work. The one I settled on was white, which I thought blended in too much with the white nightstand, light gray walls, and gray shade. So I decided to spray paint it black. Thank goodness for spray paint. Here's the lamp situation with the white base (right height, wrong color):


I taped off the cord and stuffed the light bulb hole with paper towel to keep it free of paint.


Looking pretty good in shiny black - I used Rustoleum black gloss:


Back in the room + a glimpse of the new curtains:


Lola, showing off the new lamp:


Related Posts Plugin for WordPress, Blogger...