Sunday, March 10, 2013

Fifty-Thousand Page Views Later

50,000 page views. Unbelievable!

When I noticed the blog was approaching this milestone I thought about what I might want to do to celebrate. When I started the blog I would request to go out to dinner for every small milestone. :-) I will probably be doing that for this one too, but I also thought it might be nice to reflect on the projects that have actually made a big impact around the house. We have spent nearly 2 whole years DIYing this house, and some projects have definitely been more important than others (ex: a spray painted napkin holder = low impact). So check them out below, in reverse order, the most life-changing projects on Hems and Haws to date:
See the original posts about each of these by clicking the links.

5. My Office
While this wasn't necessarily one DIY project, it came together pretty quickly after we moved in. This room features a hot pink table for a desk, light pink walls, and molding near the ceiling that serves as a shoe rack. (Latest office post)


4. Painting the Trim
The trim in this house was atrocious. I'm not sure what it is about wood trim that I dislike so much, but everything just feels fresh and clean with white trim. There are houses where wood trim looks nice, but this was not one of them. There are still 2 rooms in the house with wood trim, but I am hoping to tackle those this summer. It is not a quick and easy job to paint trim, but it is worth it!  (Tutorial here)


3. The Bar
The bar is the most functional project we have done. T.J. was a huge help, and we completed the project in just about one weekend. We use the bar every single day and it has really upped the quality of life in our house by providing another surface to work/eat/hang out at. (Bar posts one and two).


2. Five Chandelier Projects
What makes these projects the runners-up is that they make me smile every day. All of these chandeliers cost me $30 or less - one of them I got for as little as $4 at a flea market in Lansing, MI. (Posts: White Kitchen Chandelier, ORB Hall Chandelier & Bedroom Chandelier, Pink Office Chandelier, Pink Closet Chandelier)


1. Painting the Kitchen Cabinets White
We spend a ton of time in the kitchen and as they say - kitchen renovations = big bang for your buck. Here I am not talking literal bucks, although I do hope the improvements we have made in the kitchen will pay off. The whole kitchen feels lighter and brighter with the white cabinets and they are a more recent change (1 year ago). The combination of white cabinets with white trim and white doors just makes everything feel updated, clean, and new. If you are considering this project, do it! Read about my experience here.

Wednesday, February 27, 2013

Master Bath of My Dreams


It's my favorite time of year, Pinterest challenge time over on Young House Love and Bower Power (this time teaming up with Decor and the Dog and The Remodeled Life! Not only is it a great excuse to spend some time DIYing, but it kicks my butt to get something done I've been wanting to do.


The master bath has been a long slow process of one project at a time, starting with painting the trim and cabinet white, making a shower curtain, hanging a new mirror and light fixture, updating the electrical switches, making wall art, and painting the walls. Now the finishing touches - a new faucet and stripes!

The pin I chose is actually one from Young House Love's blog, a tutorial on painting horizontal stripes in the bathroom. See it here.


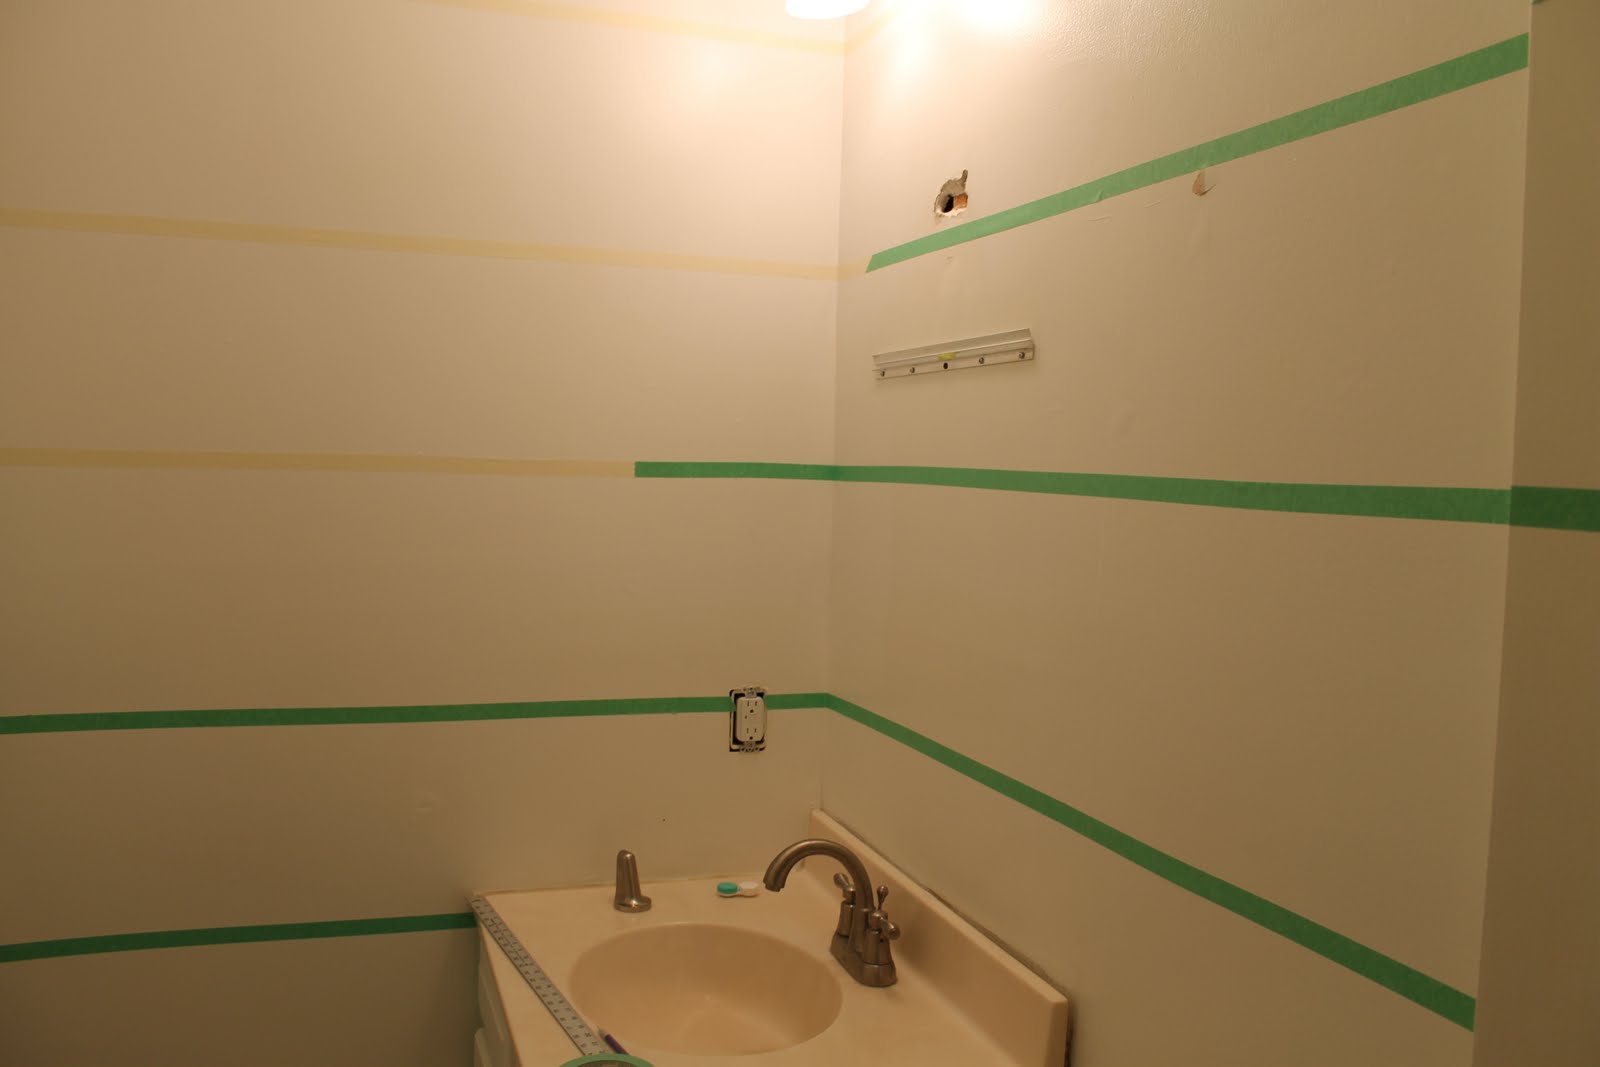
I started by measuring the whole height of the wall and dividing by 7. I wanted 7 total stripes so I would only have to paint the middle 3! Each stripe ended up being 13.3 inches (total wall = 93 inches). I measured from above the baseboard to the ceiling.

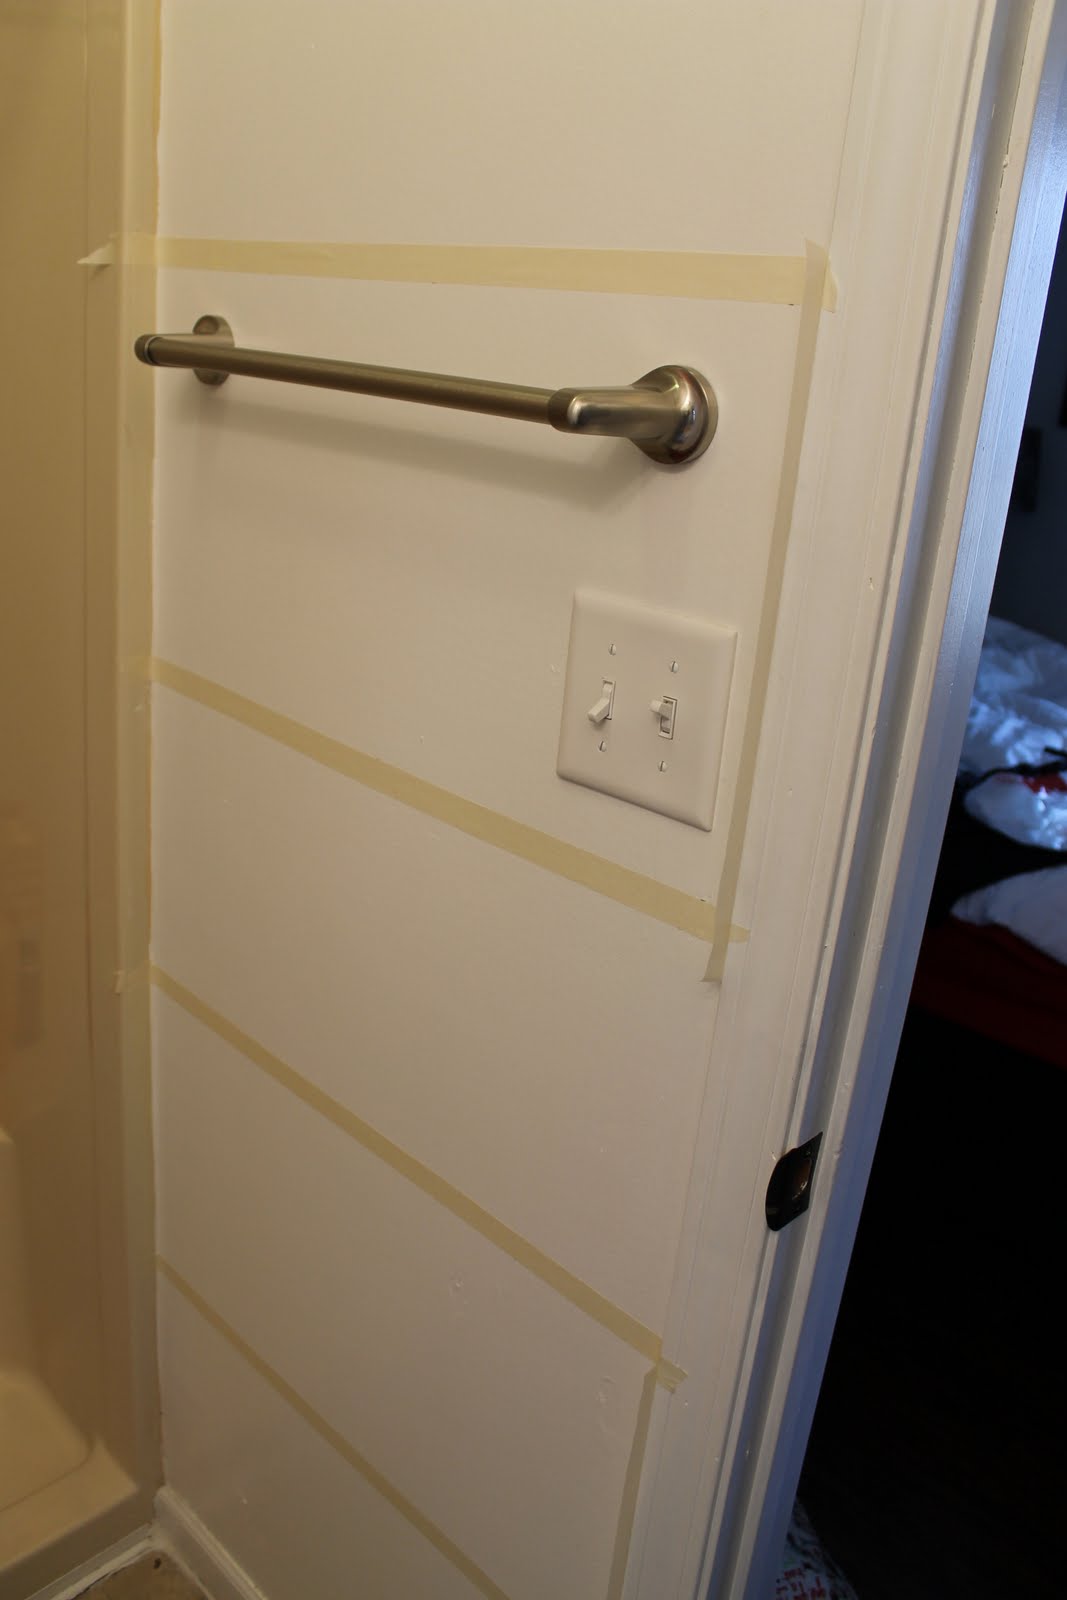
Then I marked the wall from the ceiling down with a pencil. I taped across my pencil marks to make the stripes. YHL does a nice tutorial here if you want more details. Then of course, I ran out of tape. Which put a pretty big halt in the project. :-)

So I got more (and better) tape - I noticed later that the green tape did a better job keeping paint from running under it than the yellow tape did. Then it was easy - 2 coats of gray making sure to pull the tape off while the 2nd coat was still wet.


I did have a little bit of touching up to do (see tape issue above) but it was mostly user error. I did not do a great job making sure the tape was stuck really well to the wall in the corners and that was my main mistake.

 
The beautiful stripes on the wall also inspired me to go out and buy the last couple of items we needed for the bathroom makeover to be complete: a new rug (chevron of course) and a little plant for the back of the toilet. I wish it was real, but the bathroom has no windows so it would surely die. Nevertheless, I thought the bathroom needed something alive looking in it.


I am beyond happy with the results. I keep telling my husband I am just going to go hang out in the bathroom. While it was nearly the last living space I made any changes in, it was well worth the wait. Maybe patience is the key to good design?

Here is a (terrifying) look at the before. So sad looking! It is hard to believe it is the same room.


As I am writing this post I am realizing almost none of the projects in this room have appeared on the blog, so let me tell you about a few of them. I found the mirror at Goodwill last summer for $8. My sister and I each bought one - we think they must have come from a hotel. It was an ugly gold brown and I spray painted it white. I had been on the lookout for a faucet for a long time but didn't want to take the $70 hit it costs to get a new one. My father in-law happened to just have this one in his garage! He even came for a visit to install it.

New Faucet


This light fixture was from the Restore and cost me around $10. It was again an ugly gold. I spray painted it white and now it is beautiful! Special thanks to Dad and T.J. for installing the light and the mirror. I love the scrolly detail of the light fixture with the lines of the mirror. Finally, the shower curtain is made from some of the fabric I picked up at Mood NYC this summer.


And so this concludes the Pinterest challenge. By far the best one yet! See my previous Pinterest challenge projects by clicking the following links: (button wreath) (clay earrings) (flower ring) and (bee running costume).

Thursday, February 14, 2013

Happy Valentine's Day

Mmm, heart shaped pancakes. These blueberry filled delicacies were my only request for today (that and unwavering love).


T.J. used cookie cutters on the griddle to make perfect little hearts.


My other two valentines made an appearance at the table to do what they do best, beg! I may have indulged them a little this morning.


Happy Valentine's Day!


Related Posts Plugin for WordPress, Blogger...